


Ultimate Guide for Construction Time-Lapse: Explanations, Camera Selection & Best Setting
Construction time-lapse video tells the story of the construction process over time for your clients. Often this process will cost $2000 or more or involve complex steps and highly specialized talent using equipment like a professional DSLR. What if you could create construction time lapse video for a fraction of that cost? In this article, we will introduce you to low cost, easy to use, high definition 4K construction time lapse video.
Here's a video showing how our client used Reolink IP cameras to capture time-lapse video for their construction project documentation.
What Is Construction Timelapse
By contrasting construction timelapse video with normal videos, we can better understand its technique. In a traditional video, you capture 24-30 frames per second. Time-lapse video takes photos much less frequently such as 1 frame per minute. When these time lapse images are played back, you can see the progress of the construction process in a visually dynamic manner.
Check out this video to see some examples of timp-lapse videos and know more about time-lapse cameras.
Often construction time-lapse video can compress several years of construction into a few minutes of video, thus allowing the viewer to record each milestone in the construction process from start to finish.
Why Construction Time-Lapse Is Important for a Project
Construction time-lapse is helpful in projects for a few reasons.
- Show the project process. You can show your team with 6 months of photos to show how far the project has progressed in that time. It's useful for an architecture firm that produces weekly or monthly reports for clients. It can make for great updates in these reports to supplement written summaries. Think of the construction time lapse as a kind of visual executive summary of the project.
- For social sharing. Showcase the time lapse video on social media with your followers and potential clients. It is also great to share the joy of a completed project on your social media with customers, tenants and supporters.
- Document your organization's history. An architectural time-lapse video is a fun way to capture the history of your building. When you deliver the project, you can send it to the client as a gift. It shows the entire construction process from start to finish within minutes.
- For online marketing. Provide the construction time-lapse video to your marketing team. It will give clients a quick overview of the construction process. The construction video can help you stand out from the competition who do not offer this kind of video.
- Presentation at construction exhibitions. Videos like these can attract the interest of passing people at an event. You can also use these videos in virtual events like webinars.
What Is Special About Construction Time-Lapse Video
Unlike other types of time-lapse video, construction time-lapse video has its own unique features. As a result, additional preparation efforts are needed to get a quality video. Unlike other kinds of video where you can shoot the video several times to get a perfect take, there are no “second takes” in construction. You only get one chance to get your video.
- Rain and snow are your enemies. The cameras you use need to be durable in all weather conditions. Unlike indoor environments, construction projects are generally located outdoors and have no other additional protection. Rainy days or snowy days can bring unexpected situations to the camera, so the camera needs to be at least IP66 waterproof, or have other weatherproof protection measures such as waterproof cases.
- Unstable signal at construction sites. The network signal at the construction site may be unstable, which will bring problems to remote viewing.
- Camera may be stolen. In a construction site, people are constantly visiting and leaving. You might have some familiar people at the job site every day. However, you will also have new people appearing regularly like vendors and contractors. With so many coming and going, there is a risk that your camera might be stolen. A camera with a human detection and motion detection feature can help to prevent theft. When a suspicious person appears in front of a camera, you can get a push notification on your phone. In this way, the camera is effectively calling for help before it is stolen or damaged!
- Keeping the camera fully powered is challenging. The construction project can take months or years before it is fully completed. To create a comprehensive time lapse video, you need to capture every day of the project. This requires keeping a camera continuously powered for long periods of time.
- Customers demand high quality videos. For construction companies or real estate developers, time-lapse videos are often used for corporate communications and online marketing. As a result, your customers may expect HD, 4K or even 12MP video quality.
What Are the Must-Have Features of a Quality Good Construction Time-Lapse Camera
The special conditions of a construction time lapse video - like the need to operate in all weather conditions for long periods of time - means a specialized camera is needed. Putting a smartphone on a tripod is unlikely to produce satisfactory results. To choose the right camera, take note of these features.
- Resolution Clarity: Ideally, you will need to capture videos with 5-12 megapixels cameras. Remember, there is no “do over” in construction. You cannot ask the builders to tear down a wall and rebuild it so that you can film it. Choosing a camera with high resolution means you are more likely to capture quality images right away.
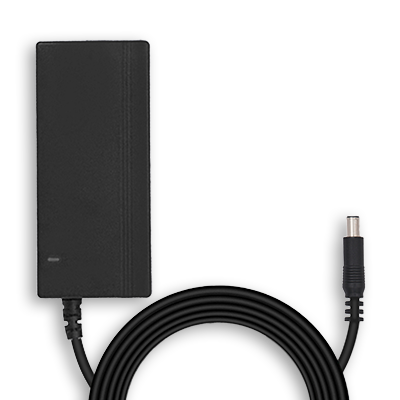
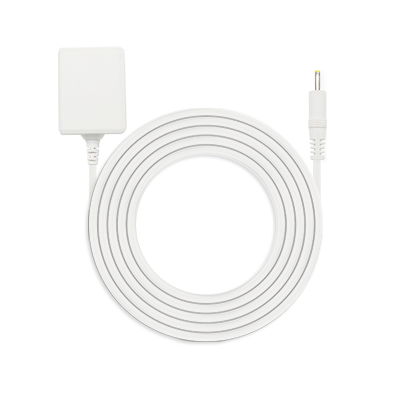
- Long Lasting Power Supply: You do not want to use a camera that requires fresh batteries or a battery charge every few hours. That would require far too much work. Instead, it is best to use a power supply, Power over Ethernet (PoE) or solar panels.
- Built-in Timelapse Function: For example, it is best to use a camera that can automatically take photos on a set period (e.g. every 3 minutes). Without this feature, you would have to manually press the shutter every 3 minutes... That could quickly take an entire day!
- Weather Resistant, Waterproof and Durable: On construction sites, rain, snow and fog are hard to avoid. Therefore, your camera needs to be designed to withstand the elements.
- Local Storage and Cloud Backup: Construction time-lapse video requires taking a large number of photos. At a minimum, you should get 128 GB of storage (more is better). That said, local storage can be lost or damaged. Therefore, it is smart to have a cloud backup in place.The best solution is a combination of local storage on the camera itself and a cloud backup. Choose a camera that makes it easy to back up photos to the cloud.
- Remote Viewing: Choose a camera that you can connect to your network so that you can easily access the recordings. This feature also makes it easy to monitor the camera remotely. There’s no need to visit the job site to verify the camera is still working. You can check on your images from home or in your office.
- Camera Stability: The camera should be kept in the same position to create a high-quality construction time lapse. If the camera moves or shakes, your time lapse may be difficult or impossible to view. Therefore, look for a camera and camera accessories (e.g., a tripod) that makes it easy to keep the camera stable.
How to Choose Construction Time-Lapse Video Devices
There are multiple cameras you could use in architectural time-lapse video. For example, you could use an IP camera, DSLR, an “action camera” (e.g., Go Pro) or a smartphone. To highlight the costs, advantages and disadvantages of each option, see the comparison table below.
Note: IP cameras (i.e. cameras which are connected to a network) are sometimes called “security cameras.” In addition to home and commercial security, these cameras can be used for time lapse photos in some cases. Several Reolink cameras have time-lapse capabilities through recent firmware updates. Keep in mind that not all IP cameras support time lapse.
4 Reasons Why a Construction Time-Lapse IP Camera Is a Good Choice
1.Multi-camera
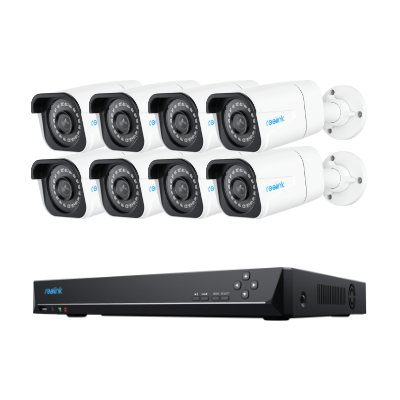
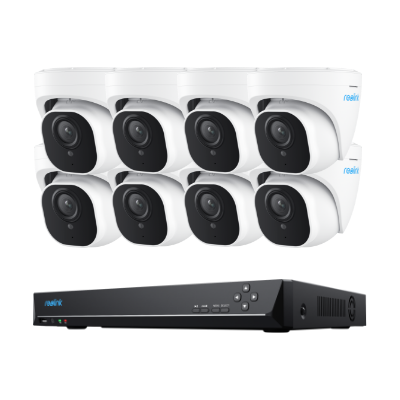
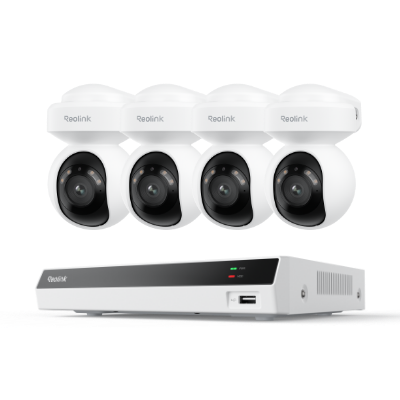
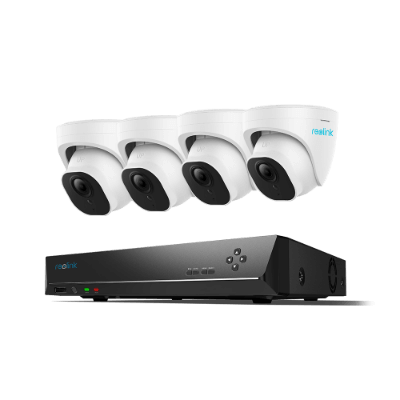
We suggest you capture images of the construction site from multiple angles. It is easy to accomplish this by installing several IP cameras on your construction site. You may even be able to use a CCTV camera system if your devices support time lapse.

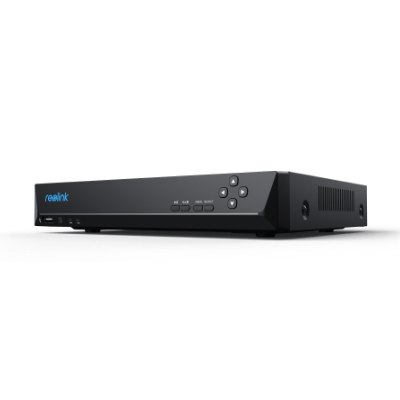
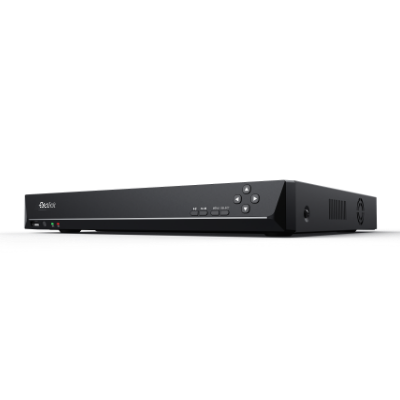
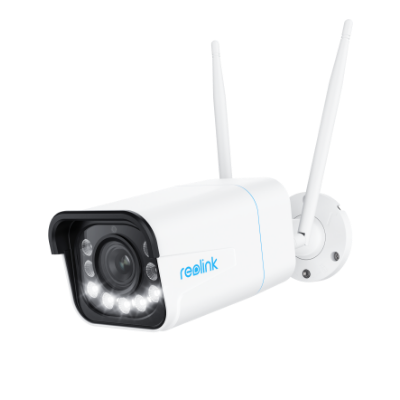
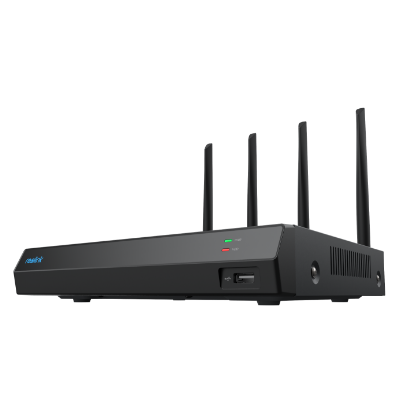
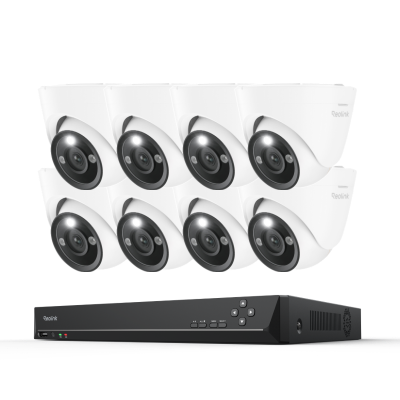
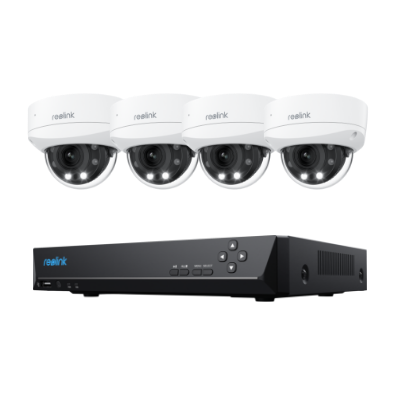
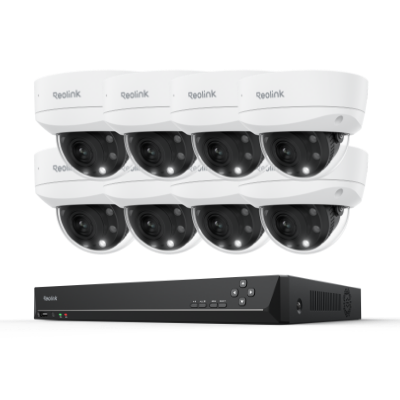
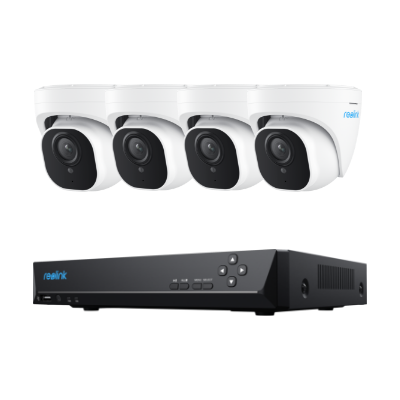
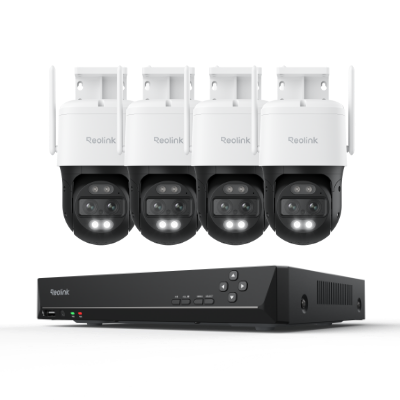
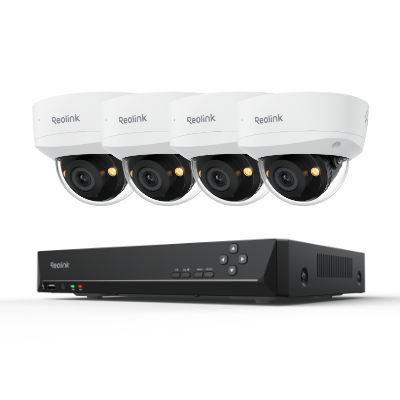
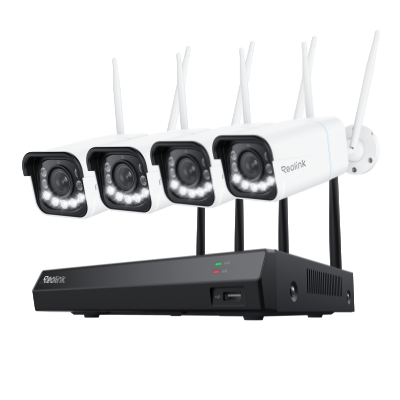
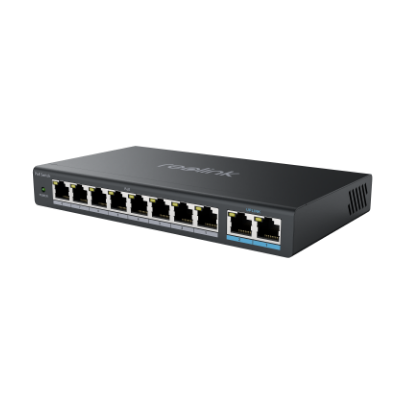
16-Channel PoE Security System
8 pcs 5MP/4MP Security Cameras; 3TB HDD 16-Channel NVR for 24/7 Reliable Recording; Plug & Play; 2 Network Solutions.
2.Security features
An IP camera can also serve as a security device. For example, you can capture images of the construction site 24/7. In addition, some IP cameras include human detection and motion detection features which makes it easier to spot threats.
3.Remote monitoring
You can see the monitoring screen from remote via mobile App or computer C That means you don’t have to travel to each construction site to monitor the progress.
4.Built-in time-lapse function
Thanks to a recent firmware update, some Reolink cameras now support time-lapse. You simply need to choose a location to set up the camera, choose your settings and let the camera do the rest.
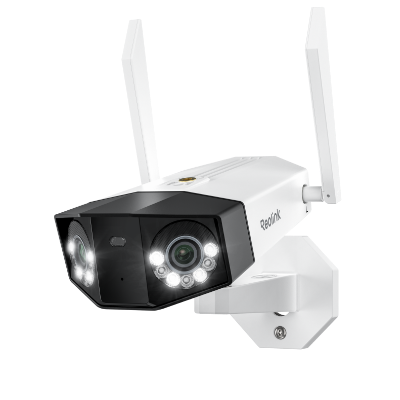
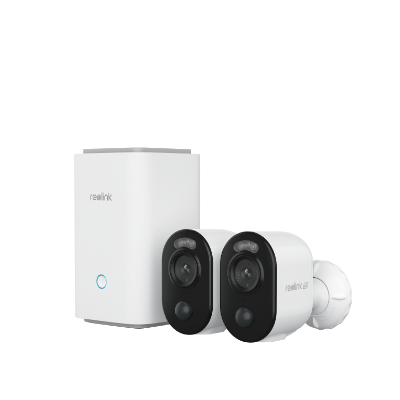
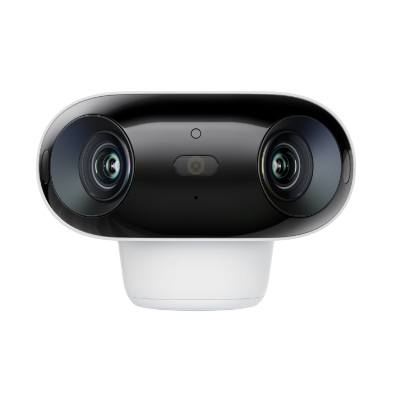
Best Construction Timelapse Video Camera
There are several Reolink cameras that support time lapse video. Use this guide to find a camera that suits your needs and budget.
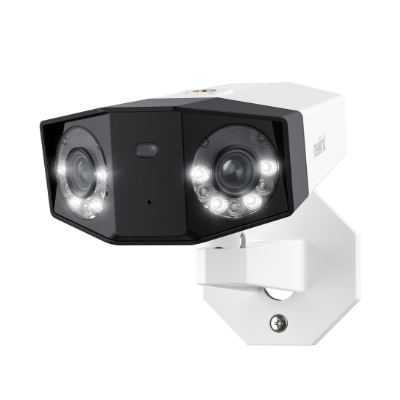
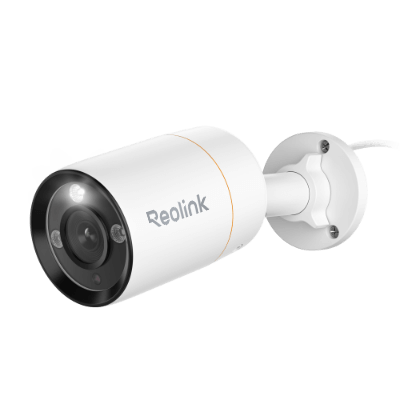
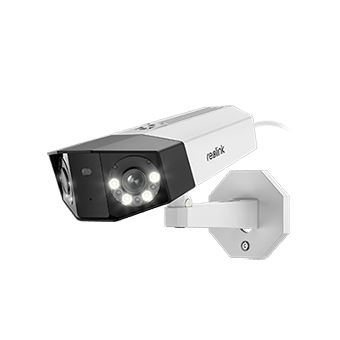
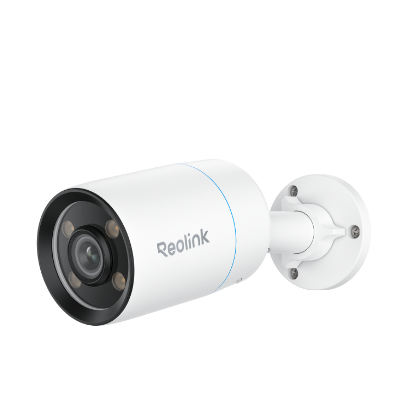
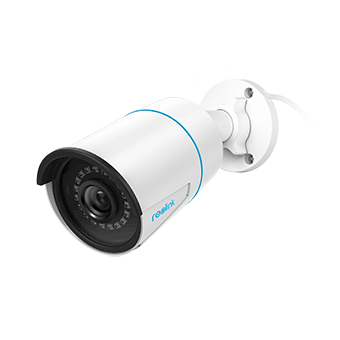
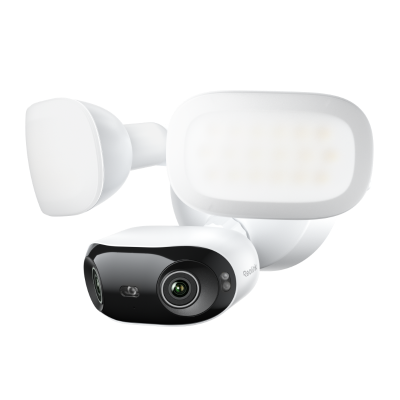
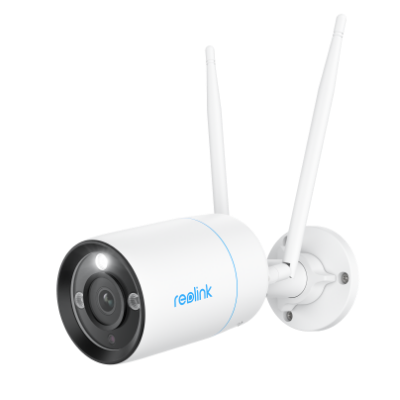
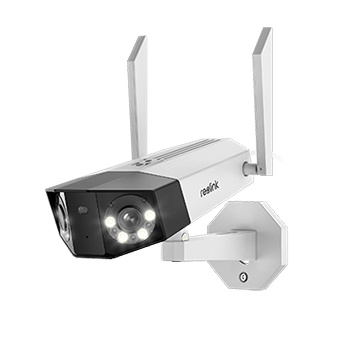
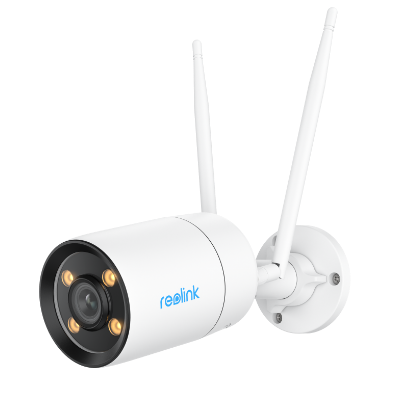
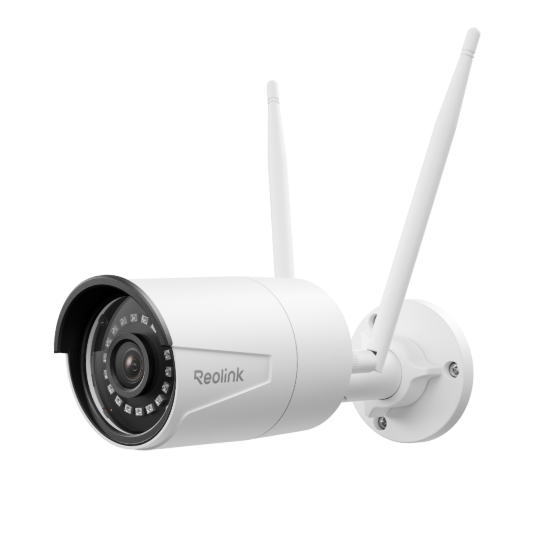
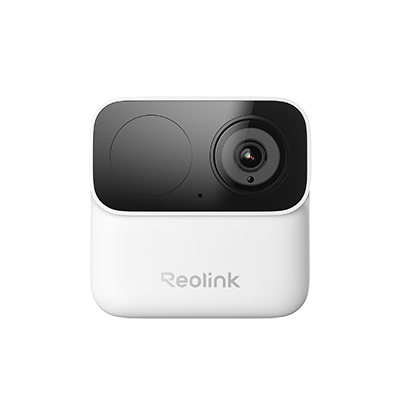
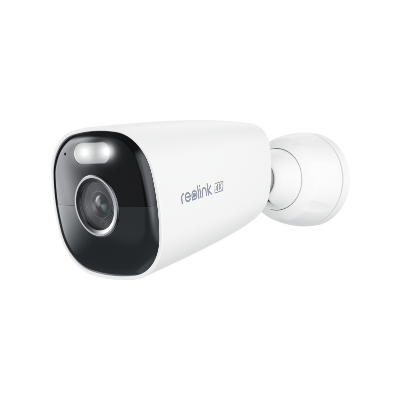
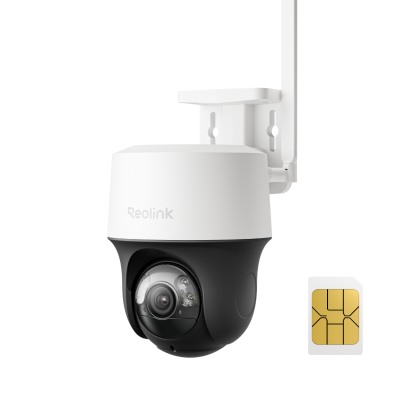
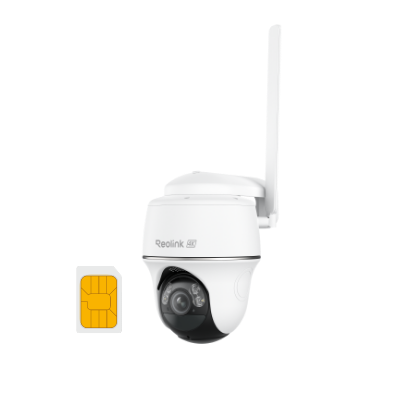
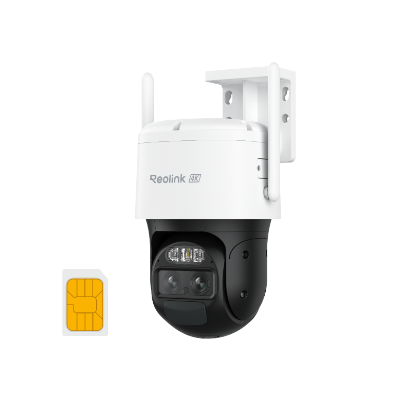
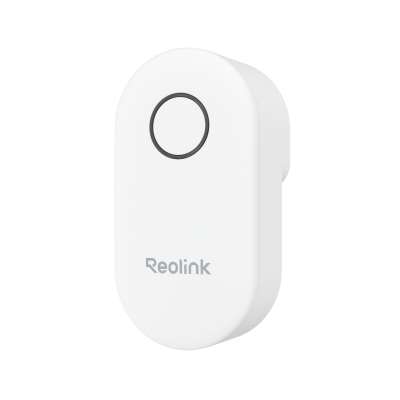
The Best 4K Camera - for Construction Time Lapse
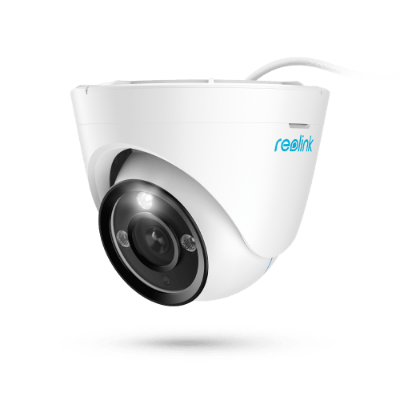
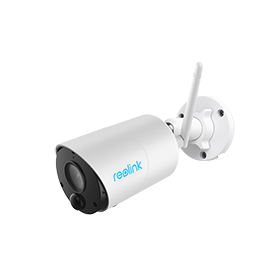
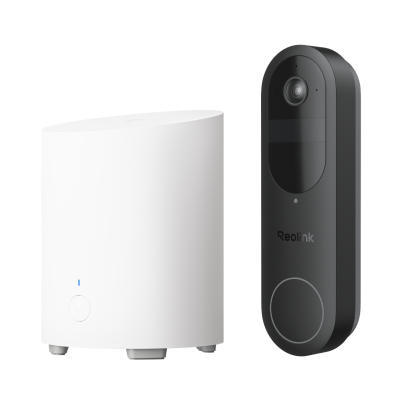
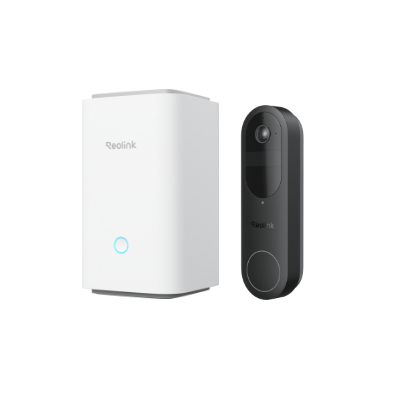
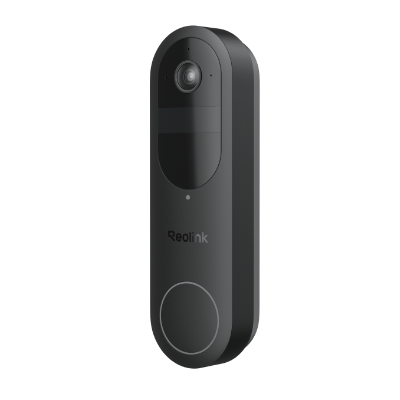
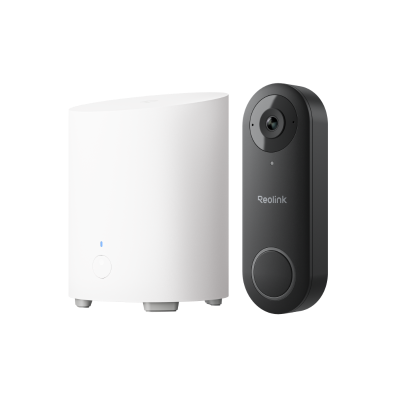
The Reolink 811A has 4K HD resolution IP camera for less than $100. It also has a 5X optical zoom so you can capture every detail of the construction site.

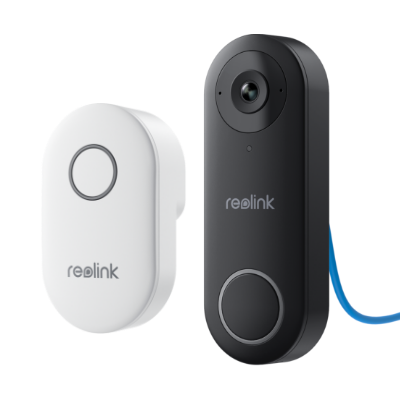
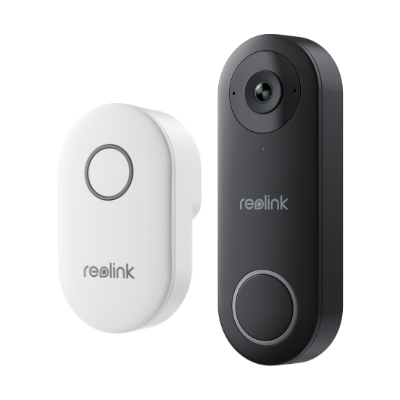
Alternative to PoE intercom doorbell camera
- Two-way audio and preset audio message
- 24/7 live view and continuous recording
- Person/vehicles/motion detection
- Instant alerts and pre-motion recording
- 8MP 4K and 5X optical zoom
- Color night vision
- Storage: Cloud + SD Card
- IP66 weatherproof
- POE (Power Over Ethernet) connection. Ensure uninterrupted power supply and data transmission.
- Built-in architectural time-lapse video function
- 5X Optical zoom. Zoom in without damaging the details of the picture.
- 4K resolution
- Affordability
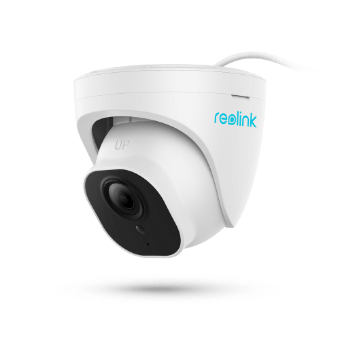
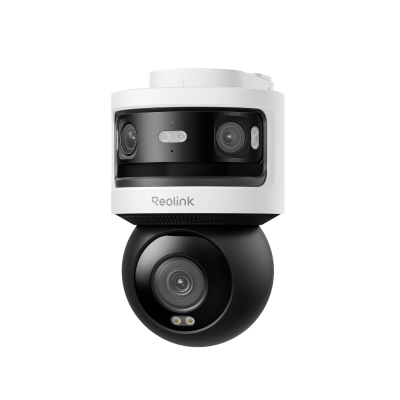
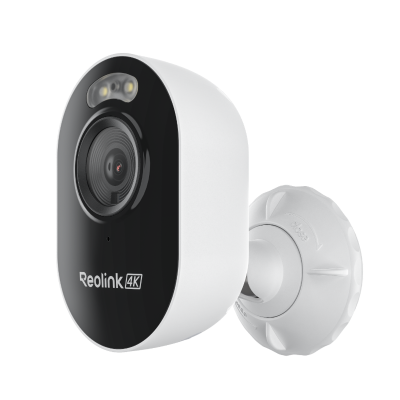
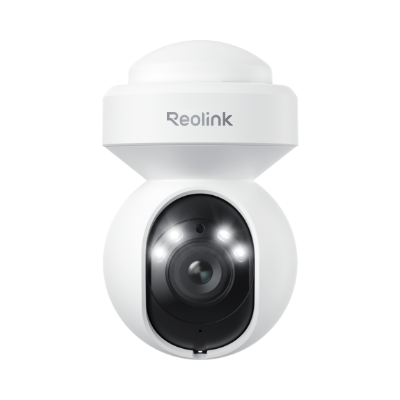
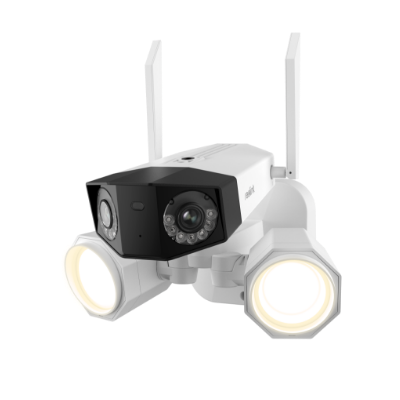
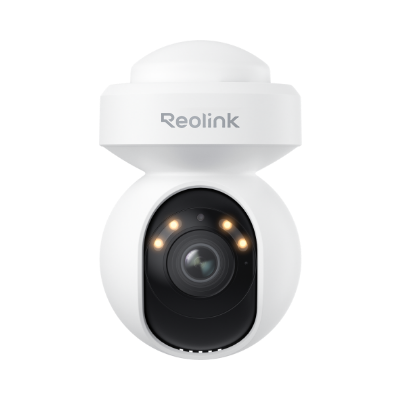
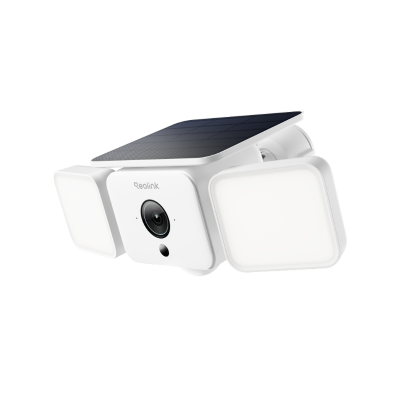
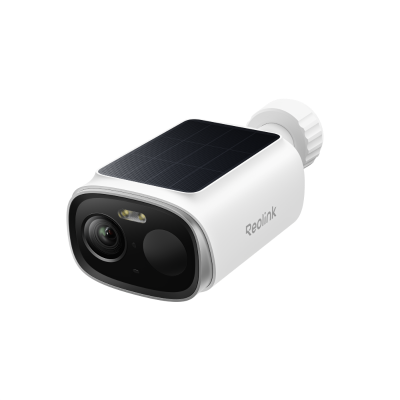
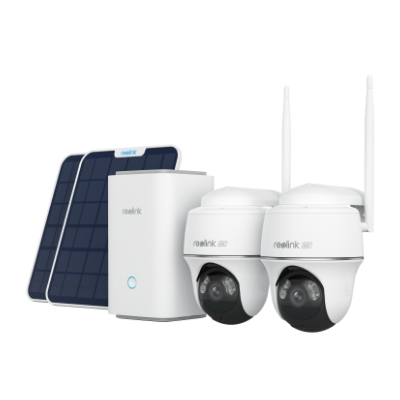
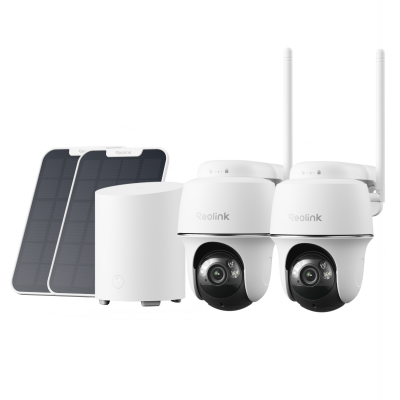
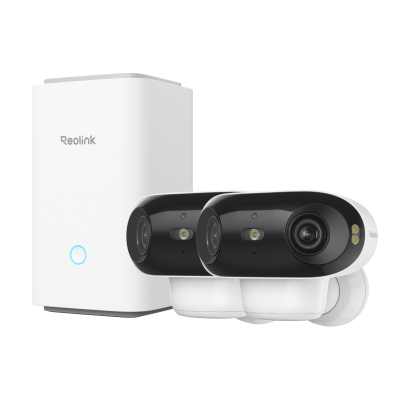
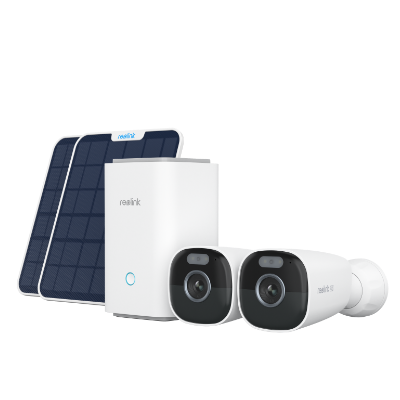
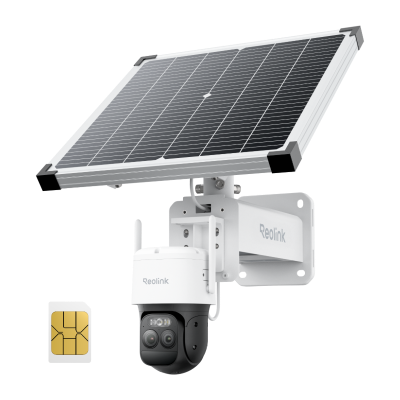
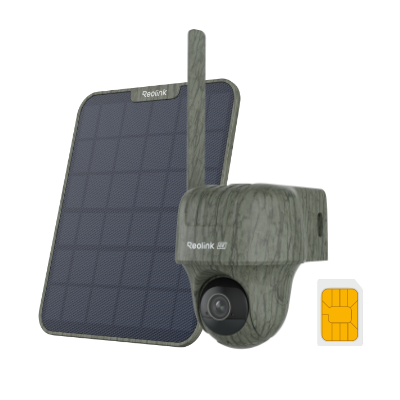
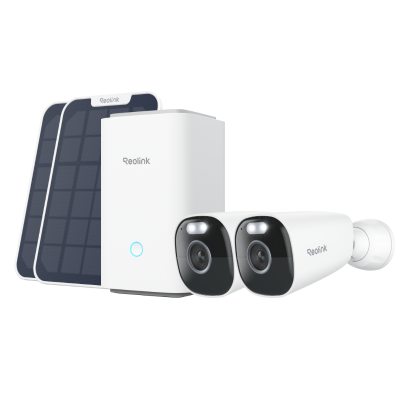
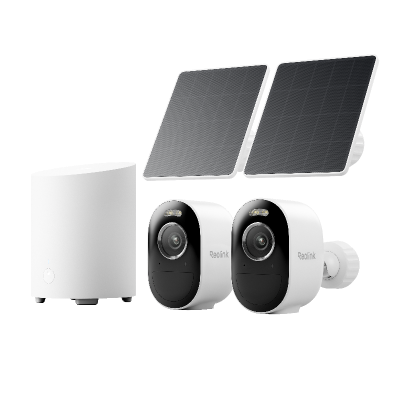
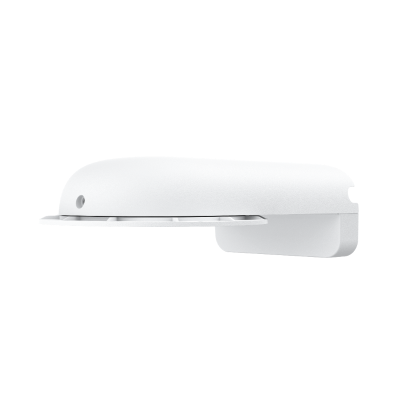
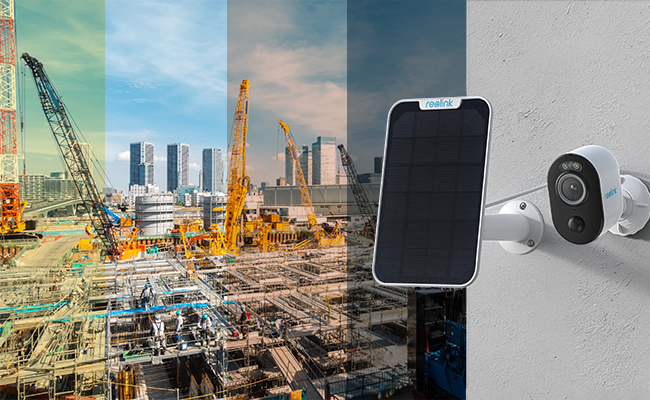
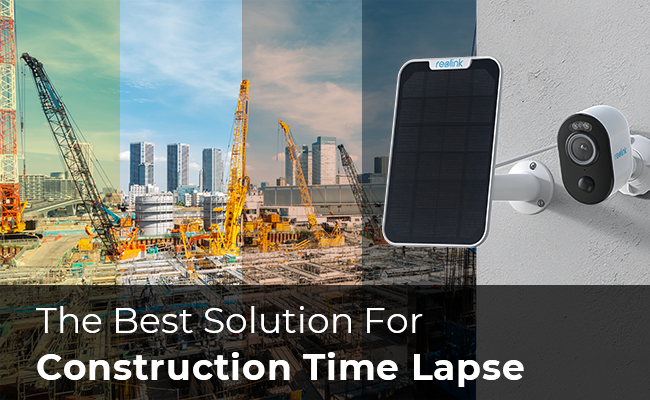
The Best Solar Powered Camera - for Construction Time Lapse
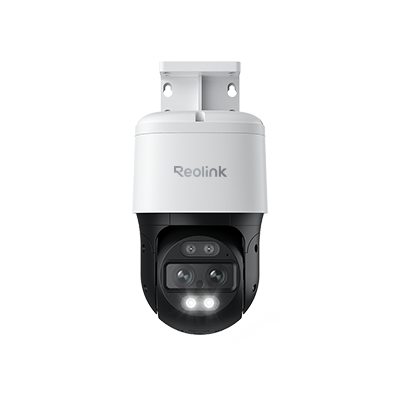
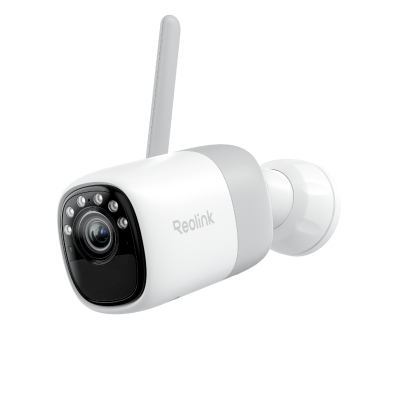
The Reolink Argus 4 Pro is solar powered so it can run for months without interruptions. If you are worried about power failures or operate in a remote area, this camera is a good choice.
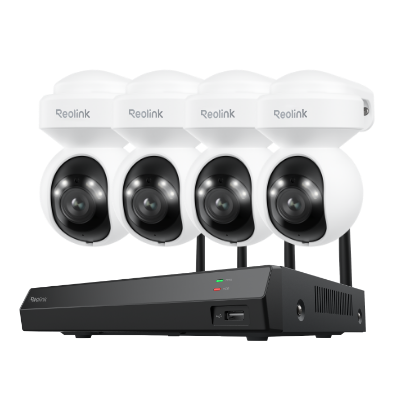
4k 180° Wire-free Color Night Vision Camera
4K UHD 180° Blindspot-free View; Color Vision Day and Night; 30% More Battery Life; Dual-band Wi-Fi 6; Smart detection.
- Solar powered & battery
- Shooting 4K resolution video
If you are wondering more security camera models support construction timelapse, you can refer to this list of all Reolink IP cameras with time-lapse capability. For your own selection, you can consider these factors include resolution clarity, power supply, remote access and so on to find the most suitable construction time-lapse camera you need.
The Step by Step Guide to Set Up Construction Timelapse with an IP Camera
Once you get an IP camera, how to shoot construction time-lapse videos may be a puzzle for you. However, it could never be simpler and easier using the App provide by the manufacturer. Here we take the Reolink camera as an example to show how you can take architectural time-lapse images through an IP camera easily. Get started with the following steps.
- Step 1. Launch Reolink App, open Device Settings and navigate to the Time Lapse page.
- Step 2. Tap on the “Click New Time Lapse Capture” and select construction.
- Step3: Customize settings of your scene.
Capture Starts at.Choose when you want to start capturing images.
Duration.Decide how long you want to capture images. The shortest duration is 1 minute while the longest duration is 830 days (i.e., over two years). If you set up the duration to more than 1 day, then you can also select the daily capture period, like 8 am ~6 pm.
Interval. You can select the capture interval between 2 seconds and 6 hours for IP cameras. For battery powered cameras, the interval options may be different.
Quality.There are clear, balanced and fluent modes available for choosing. We chose the clear setting.
How to Calculate Interval and Frame Rate for Time-Lapse Video
Construction time-lapse cameras take photos much less frequently than the usual video playback (24 or 30 frames per second). That means you need to think about choosing an internal and frame rate that makes sense for your video project. The following steps show how to calculate the interval and frame rate.
- Determine the total time. This is the time to complete the project, depending on the actual situation, the total duration may vary greatly. In this example calculation, we will assume a total construction time of 6 months or 180 days. Choose how frequently to capture images. We recommend choosing the 600 seconds (i.e., every 10 minutes). If there is a large amount of activity on the construction site, you may want to capture images more often.
- Calculate the number of photos taken per day. For example, Desired time x 24 fps [frames per second] / total time, 600 x 24 fps / 180 days = 80 fps. That means you need to take 80 pictures per day.
- Calculate the number of photos taken per hour. The average time per day when the sun has sufficient light to meet the shooting conditions is 8 hours, so 80/8 = 10 photos per hour, that is, you need to shoot 10 photos per hour. Remember the amount of sunlight hours per day varies throughout the year.
- Calculate the shooting interval. 60min/10=6min, that is, every 6 minutes to shoot a picture.
- Enter the settings. Set the IP camera to take a picture every 6 minutes on the mobile app.
Our Recommendation: The minimum time interval for time-lapse video should be no less than 24 shots per day. Because each project is different, the duration of the project is different, so the calculated shooting interval varies greatly.
The Best Setup for Construction Time Lapse
Before you start capturing images, there are a few more setup steps to consider to get the best possible result.
- Multi-camera: Take a closer look at the wonderful time-lapse videos of construction on YouTube (example: Nonprofit County Theater Expansion Project) and you'll see that they are usually more than just one angle. For large projects, multi-camera shots can show all aspects of the construction process more. It makes your video more exciting and more watchable.
- Angles: This is more of an art than a technique, I think, and you can refer to other videos for inspiration. Looking up can give the building a lofty feeling, looking down can give you a feeling of being high up and having a bird's eye view. Usually we also shoot in a flat view to simulate the perspective seen by the human eye.
- Shooting time: Daytime vs. night. Generally we choose to shoot during the day when there is sufficient light. But if your construction project is also under construction at night, or has special lighting effects at night, then you can use another camera to shoot some material specifically at night.
- Backup: To keep your video footage safe, the SD card slot of IP camera can be installed up to 256G, and with the purchase of Reolink NVR, you will get up to 6T video capacity expansion, and you can also participate in Reolink's cloud storage to backup your video footage in the cloud through subscription.
- Camera recording schedule. You can set it by opening Reolink App on smartphone, go to settings→ camera recording→ tap “schedule”.
Use the camera recording schedule to plan a schedule to shoot the video. For example, you might turn off recording on Saturday and Sunday if there is no construction activity on those days.
Conclusion
A construction time lapse is one of the best ways to communicate progress on a construction. It adds excitement to the construction reports. While you can use a variety of cameras to make a time lapse, Reolink cameras are an excellent choice. These affordable cameras support construction time lapse so you can easily create videos. Even better, these cameras can do double duty as security cameras to keep your construction team and site safe.
Search
Subscribe for the Latest Updates
Security insights & offers right into your inbox