







How to Set Up Remote Camera Monitoring: Step by Step Guide
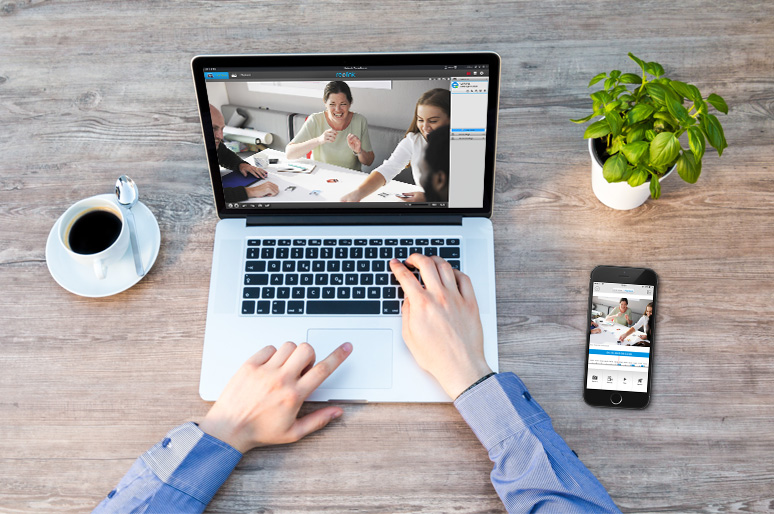
Remote viewing allows you to securely monitor your property's live security footage from anywhere in the world. You can easily set up remote access using two main methods: linking your cameras over the internet via a dedicated mobile app/client, or configuring manual port forwarding rules on your local network router.
Whether you are traveling for business, checking on a package delivery, or securing a commercial facility, remote video monitoring gives you real-time oversight directly on your personal devices. However, minor network failure can occasionally block your connection. This guide details how to resolve remote viewing failures and outlines the most dependable troubleshooting steps to get your live feeds back online instantly.
- What Is a Remote Viewing Security Camera?
- How to Set Up Remote Viewing for IP Camera on a Smartphone?
- How to Set up Security Camera Remote Viewing via Port Forwarding?
- How to View an IP Camera Remotely Without Internet?
- How to Access an IP Camera Remotely Through a Web Browser?
- What to Do If You Can't View IP Camera Remotely? Try These Troubleshooting Tips
- What Are Potential Risks of Remote Access to Security Cameras?
- What Users Say About Remote Viewing for Security Cameras?
- FAQs
- Conclusion
What Is a Remote Viewing Security Camera?
A remote viewing security camera (also referred to as a remote access camera) is an internet-enabled surveillance device that captures live video and transmits it over a network, allowing users to access, control, and playback footage from a distant location.
Unlike traditional closed-circuit television (CCTV) systems that restrict viewing to a single physical monitor on-site, a remote access camera utilizes modern internet protocols to bridge the gap between your home and your smartphone.
Pairing your security camera directly to your phone is the fastest and most convenient setup method. By installing a native mobile surveillance application, you can view real-time streams, receive instant AI-powered motion alerts, and utilize two-way audio from anywhere with an active cellular or Wi-Fi connection.
How to Set Up Remote Viewing for IP Camera on a Smartphone?
The easiest, most secure way to stream your IP security cameras over the internet is by using the manufacturer's official mobile application. This Peer-to-Peer (P2P) setup completely eliminates the need for manual port forwarding or complex network configurations.
Using native applications instead of third-party software guarantees perfect compatibility, secures your video stream with end-to-end encryption, and ensures you receive regular firmware updates to unlock improved features.
Whether you are checking on a remote cabin, monitoring your business, or securing your front door, this configuration takes less than two minutes.
We used the plug-and-play Reolink RLC-810A via the UID (Unique Identification) on Reolink App to demonstrate this setup in three simple steps:
Step 1: Download the Official Manufacturer's App or Client
To begin, download and install the official security companion app on your iOS or Android smartphone, or the desktop client on your computer.
Go to the Apple App Store or Google Play Store on your mobile device and search for your camera manufacturer's official app (for example, the Reolink App).
Using the official app prevents the cybersecurity risks and compatibility issues associated with third-party software. Make sure your smartphone is initially connected to the same local Wi-Fi network as your security cameras during this initial setup phase to make discovery seamless.
Step 2: Add Your Camera Device Using the Unique ID (UID)
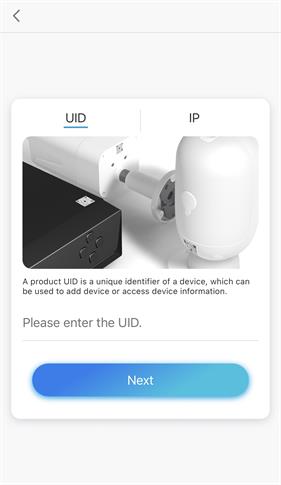
Launch the application and scan the camera's physical QR code or enter its Unique Identification (UID) number to automatically link the hardware to your account.
Tap the "Add Device" or "+" icon on the app home screen. Use your phone's camera to scan the QR code printed on the sticker attached to your camera body.
If you are setting this up on a computer or mounting the camera in a hard-to-reach spot, you can manually type in the printed 16-character UID instead. The built-in P2P technology will automatically locate the camera on the network and establish a secure, direct link.
Step 3: Launch the Live Stream and Configure Shared Access
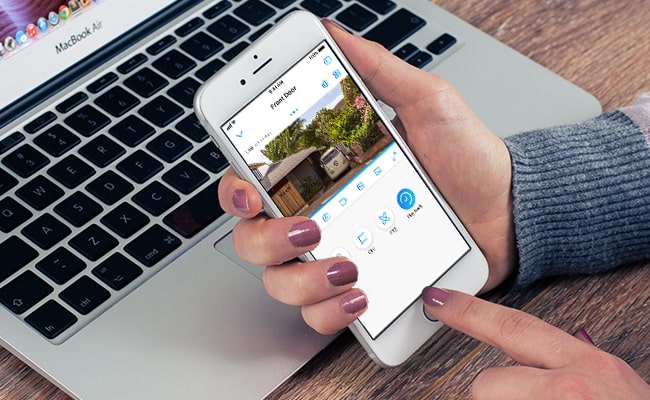
Tap your newly added camera from the device dashboard to instantly view your live video feed from outside your home network.
Once added, the camera's live feed is fully accessible whether you are using cellular data or a public Wi-Fi network across the globe. You are not the only one who can watch; you can also securely share access with family members, allowing them to stream the same IP camera feed simultaneously on their own devices.
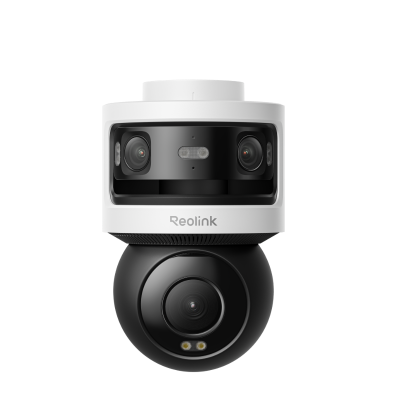
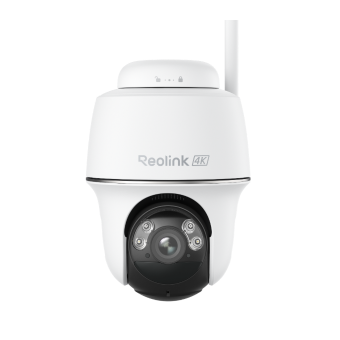
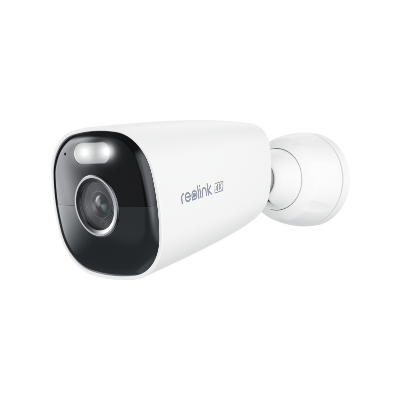
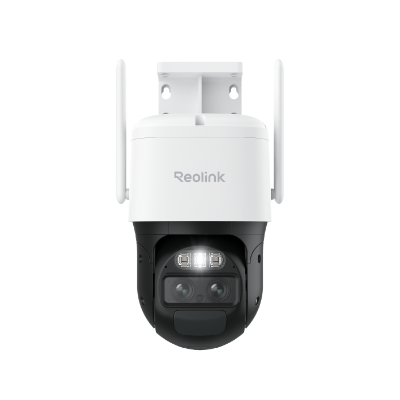
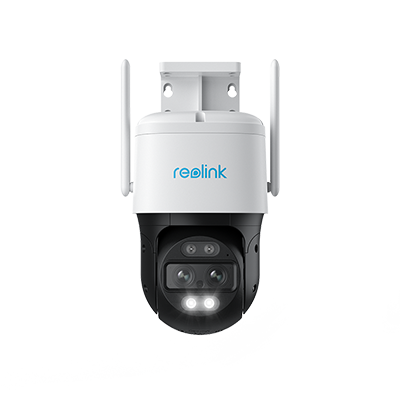
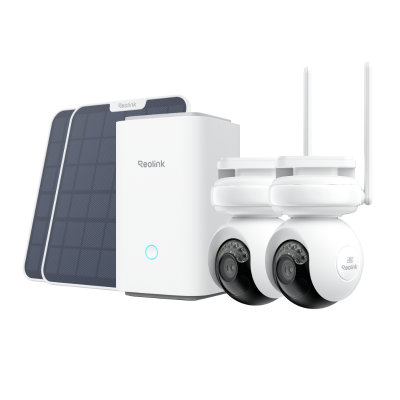
Highlighted Battery-Powered Alternative: Reolink Altas PT Ultra
If you want to bypass power cords entirely, you can repeat these exact setup steps for battery-operated wireless models.
- Key Advantage: The Reolink Altas PT Ultra features an ultra-high-capacity rechargeable battery that completely eliminates the need for power adapters or data cables.
- Performance: It delivers crisp, continuous video monitoring and pan-and-tilt tracking, hooking up to your smartphone via the same simple QR-code/UID scanning process in seconds.
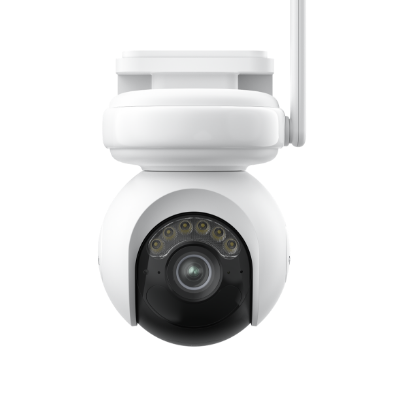
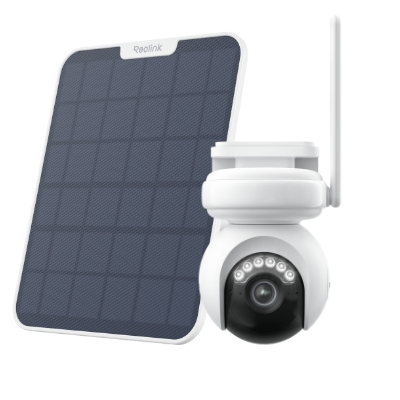 Reolink Altas PT Ultra
4K Battery-Powered PTZ Camera with Continuous Recording
👍 4K UHD video with continuous recording
👍 ColorX night vision in low light
👍 Pan, tilt, and automatic person tracking
👍 Local storage without monthly fees
How to Set up Security Camera Remote Viewing via Port Forwarding?
Port forwarding is a manual networking method that allows you to access your security cameras or NVR over the internet via a standard web browser. By telling your home router exactly which local camera should receive incoming web traffic, you can stream your live security feed from any remote network without needing a proprietary application.
While Peer-to-Peer (P2P) UID configurations are simpler, port forwarding remains a highly reliable, brand-agnostic alternative. This method is fully compatible with any modern Wi-Fi security camera, analog DVR, or PoE NVR system.
Follow these four steps to set up your router and camera for direct web-browser viewing:
Step 1: Locate the Local IP Address of Your Security Camera
To route incoming internet traffic to your camera, you must first discover its unique local IP address (IPv4) assigned by your home network.
-
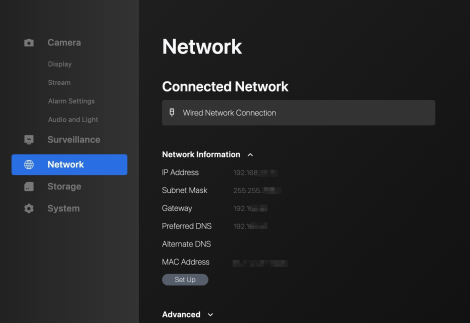
Check the Client Software: Open your security camera's companion desktop client or mobile app, navigate to Device Settings, and select Network to view your camera's network status and local IP address.
-
Access Your Router Dashboard: Alternatively, log into your home Wi-Fi router’s administration portal using a web browser and check the "DHCP Client List" or "Attached Devices" tab to find your camera's name and assigned IP address.
Pro Tip: To prevent your router from automatically changing the camera’s IP address when the system reboots, configure a "DHCP Reservation" or assign a Static IP address to the camera within its network settings.
Check the screenshoot of Reolink Client:
Watch Video Tutorial: How to Find Your Camera's IP Address
If you prefer a manual setup over the UID method, you can find your camera's local IP address to configure your stream. Check out the detailed walkthrough in this video:
Step 2: Identify Your Router's External WAN IP Address (and Enable DDNS)
To connect to your home network from an outside location, you need to know your router's public Wide Area Network (WAN) IP address.
-
Find Your Public IP: While connected to your home Wi-Fi, open a browser and use an online IP lookup utility to find your current WAN IP address.
-
Set Up DDNS for Dynamic IPs: Most residential Internet Service Providers (ISPs) periodically change your public IP address. To avoid losing connection when this happens, enable DDNS (Dynamic Domain Name System) in your camera or router settings. This free service binds a permanent, easy-to-remember domain name (e.g.,
mycamera.ddns.org) to your home network, automatically updating whenever your ISP changes your public IP.
Step 3: Find the Camera Port Numbers and Set Up Router Port Forwarding Rules
Routers use specific virtual ports to direct incoming internet requests to the correct device; you must log into your router to forward these ports to your camera's local IP address.
-
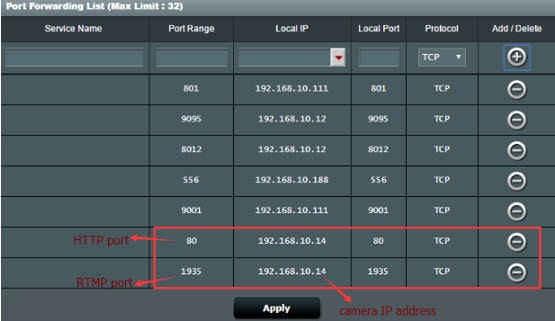
Locate Your Ports: In your camera's network settings, find the HTTP port (typically default 80) and the RTMP port (typically default 1935). If you plan to stream multiple cameras on the same network, you must change each camera's port numbers to prevent conflicts (e.g., set Camera 1 to HTTP 8001 and Camera 2 to HTTP 8002).
-
Configure Port Forwarding on the Router: Log into your router’s administrative page and navigate to the Port Forwarding, Virtual Server, or NAT settings tab. Create a new rule pointing the HTTP port number to the local IP address of the camera you located in Step 1.
Step 4: Enter the URL Address Into Your Remote Web Browser
With port forwarding active, you can view your live security feed by opening any remote web browser and entering your public WAN IP address followed by your HTTP port number.
-
Format the URL: In the browser address bar, type your WAN IP address (or your DDNS hostname) and your HTTP port separated by a colon.
-
Example with IP: *http://182.37.154.136:8001
-
Example with DDNS: *http://mycamera.ddns.org:8001
-
-
Log In and View: Press enter, and your camera's secure login screen will appear directly in your browser tab, granting you full remote viewing and setting control outside your home network.
While port forwarding is incredibly flexible, opening virtual ports on your router directly exposes those entryways to the public internet. To protect your system from unauthorized access, always change the default admin password of your security cameras and NVR to a highly complex, unique phrase before opening any ports on your router.
How to View an IP Camera Remotely Without Internet?
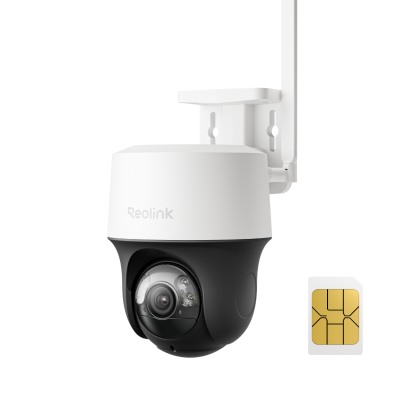
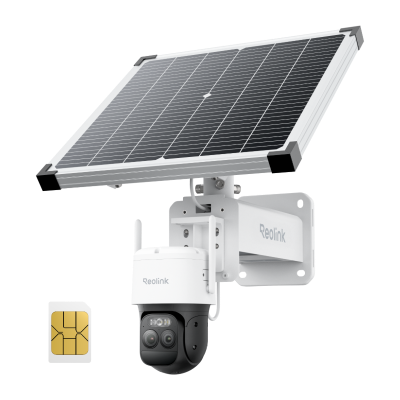
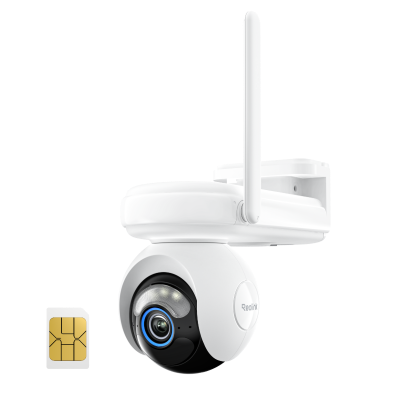
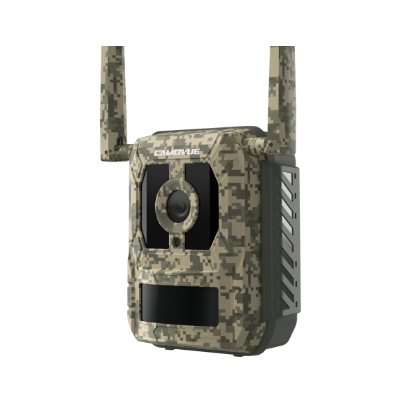
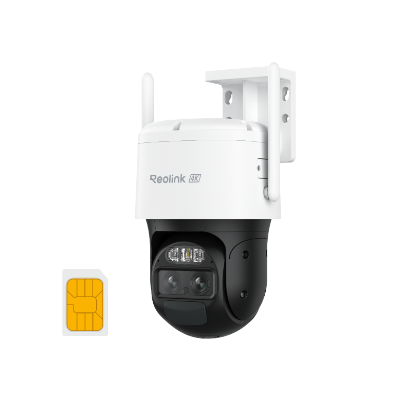
If you need to monitor a remote property like a barn, cabin, or campsite with no local Wi-Fi or broadband service, you can achieve secure remote viewing by using cellular-based security cameras that operate on 4G/5G mobile data networks.
For traditional wired PoE or wireless Wi-Fi cameras, an active local internet router is required to transmit the video data across the web for remote access. However, mobile cellular security cameras bypass this requirement entirely.
By utilizing a local cellular SIM card, these cameras connect directly to nearby mobile towers, allowing you to stream live feeds on your phone using the standard P2P UID method.
Here is how you can set up remote viewing in off-grid or internet-free areas:
Step 1: Choose a Cellular-Based Security Camera
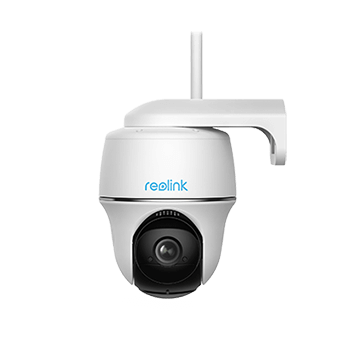
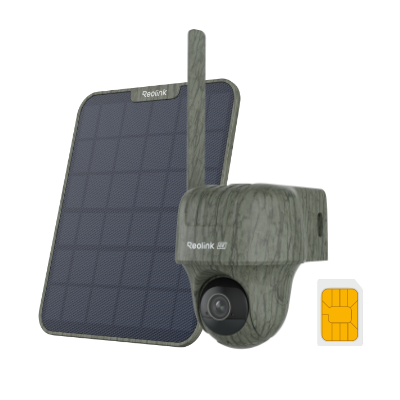
Unlike standard IP cameras that search for a local Wi-Fi router, cellular cameras feature an integrated mobile transceiver slot. When choosing a model, select a 4G/5G LTE outdoor camera (such as the Reolink Go series) designed to operate completely off-grid.
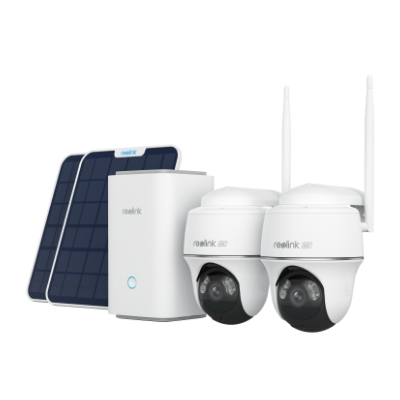
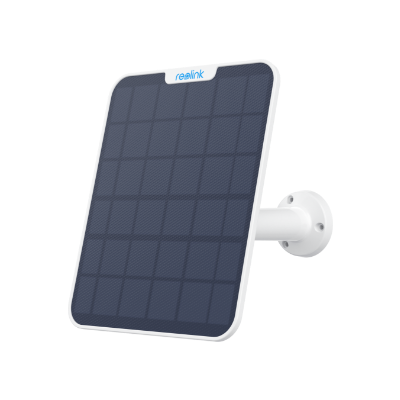
Power Option: To make your setup truly self-sufficient, pair your cellular camera with a compatible solar panel accessory. This creates a completely wireless, maintenance-free security system that never requires a physical power grid or a local internet line.
Step 2: Install a Local Mobile Data SIM Card
Because these cameras rely on cellular data to push video to your smartphone, they require a mobile data subscription.
-
Network Selection: Purchase a Nano SIM card from a local cellular network provider that offers the strongest coverage at your remote site (such as T-Mobile or Verizon in the US, EE in the UK, or Telstra in Australia).
-
Data Plans: Ensure the SIM card has an active data-only plan. Continuous live-streaming in high-definition consumes a significant amount of bandwidth, so setting your camera's stream quality to "fluent" or "sub-stream" during casual remote viewing is highly recommended to conserve your monthly data allowance.
Step 3: Link the Camera to Your Phone via the UID Method
Once the SIM card is activated and inserted, setting up remote access takes less than two minutes and works exactly like a standard smart camera setup.
-
Connection: Power on the camera and launch the manufacturer's official mobile application on your smartphone.
-
Setup: Tap the "Add Device" button and scan the QR code (UID) printed on the camera chassis. The camera will use its cellular connection to register itself with the secure global P2P server, immediately bringing your live remote feed online. You can now check on your remote property, receive instant motion-activated alerts, and use two-way audio from anywhere in the world.
Pro Tip: If you do not need remote viewing from miles away and simply want to watch your camera feeds locally on a TV or monitor at the property, you can bypass the internet completely without cellular data. Simply plug your IP cameras directly into a PoE NVR hub, and connect the NVR to your TV via an HDMI cable. The system will function as a 100% offline, private closed-circuit system (CCTV).
How to Access an IP Camera Remotely Through a Web Browser?
Online IP camera viewers and third-party software allow you to monitor your security feeds globally without using the manufacturer's proprietary application. By inputting your camera's unique IP address and RTSP (Real-Time Streaming Protocol) path, you can securely stream live feeds to any web-connected smartphone, tablet, or computer.
While manufacturer-specific apps are the most direct path to viewing, universal third-party viewers provide a powerful alternative for users managing mixed-brand camera systems or looking for advanced surveillance customization. Whether you are securing a residential home or managing a commercial property, these tools offer highly flexible remote CCTV capability across multiple devices.
Popular Online and Third-Party IP Camera Viewers
If you choose to bypass proprietary apps, several industry-standard third-party platforms allow you to consolidate your video streams under a single interface:
-
VLC Media Player: A free, open-source, and globally recognized media player capable of instantly playing live RTSP network streams from almost any IP camera. It is lightweight and highly compatible with Windows, macOS, iOS, Android, and various Smart TV operating systems.
-
TinyCam Monitor: A highly-rated Android and Android TV application designed specifically for remote surveillance, supporting advanced features like background recording and digital zoom.
-
Blue Iris: A robust, professional-grade Windows-based video management software (VMS) that allows you to turn a personal computer into a centralized NVR hub.
-
iSpy & Agent DVR: Powerful, open-source camera connection software that operates natively in local web browsers, offering advanced motion tracking and AI-powered integration.
Step-by-Step: How to Connect Your Camera to an Online Viewer
To stream your camera through a third-party viewer, follow these direct configuration steps:
Step 1: Discover Your Camera's IP Address and RTSP Port
To link your camera to an external viewer, you must obtain its local IPv4 address and its dedicated streaming port (typically default port 554 for RTSP streams). Log into your router's client list or use a local IP scanner utility on your computer to locate your security camera's IP address. Make sure to assign a static IP to the camera so the address does not automatically reset and break your external link when the router reboots.
Step 2: Formulate Your Camera's Stream URL.
Third-party players locate your video stream using a standardized network path composed of your login credentials, IP address, port, and stream profile.
Construct your streaming URL using your camera’s supported protocol. For most modern high-definition cameras, the universal RTSP format is structured as follows: rtsp://yourusername:yourpassword@your-camera-ip-address:554/h264Preview_01_main
Note: The exact path at the end of the URL varies depending on your camera's manufacturer; consult your user manual for the exact syntax.
Step 3: Input the URL Into Your Chosen Viewer
Open your third-party viewer, add a new network stream, and enter your formulated URL to launch the live video feed.
If you are using VLC Media Player, simply click Media (or File on Mac) > Open Network Stream, paste your RTSP link into the address field, and click Play. For specialized surveillance apps like TinyCam Monitor or Blue Iris, create a new camera profile, input your IP address and port numbers manually, and select the corresponding camera brand profile from their drop-down list to begin viewing.
What to Do If You Can't View IP Camera Remotely? Try These Troubleshooting Tips
If you are getting a black screen, continuous buffering, or a "Device Offline" error when trying to access your camera outside your home network, the issue is usually caused by incorrect user credentials, blocked network ports, or out-of-date system firmware.
Before you reset your entire security system to factory settings, work through these targeted troubleshooting checklists to resolve your specific remote connection issue:
What to Do If the P2P / UID Mobile App Method Fails?
If your manufacturer's app refuses to load the camera feed over cellular data or remote Wi-Fi, verify that your P2P settings are enabled and that your device is not being blocked by local firewalls.
-
Double-Check Your Access Credentials: Confirm that you have entered the correct administrator username and password for the specific camera, as these are often different from your app login credentials.
-
Verify That UID/P2P is Enabled: Access your camera’s system settings while connected to your home Wi-Fi and ensure that the P2P/UID state is toggled to "On" or "Enabled".
-
Check the Camera's Local Network Status: Ensure the camera's network LED indicators are active, confirming it is securely connected to your router.
-
Audit Your Firewall's UDP Port Settings: Some strict router firewalls block outgoing UDP traffic; verify that your router does not restrict the UDP ports used by the app to build P2P connections.
-
Test Your Remote Signal Strength: Ensure your smartphone or remote computer has a strong, stable cellular data or Wi-Fi signal (typically better than three bars or -65 dBm).
-
Perform Firmware and App Updates: Update both your camera’s internal firmware and your mobile application/desktop client to the latest versions to patch known connection bugs.
What to Do If the Port Forwarding Method Fails
If you cannot access your camera via a web browser using your public WAN IP or DDNS URL, the issue is likely due to closed router ports, active security software, or browser compatibility limits.
-
Confirm the Camera is Online Locally: Verify that you can still log into the camera locally using its internal IP address before attempting to connect via your public WAN IP.
-
Audit Your Router's NAT/Port Mapping: Double-check your router's configuration dashboard to ensure the HTTP, RTMP, and RTSP ports are accurately mapped to the camera's exact local IP address.
-
Configure Router Firewall Exceptions: Open your router's firewall settings and create an inbound rule that explicitly permits traffic through the forwarded camera ports.
-
Temporarily Disable Client-Side Antivirus and Proxies: Active firewalls, VPNs, ad-blockers, proxies, or antivirus software on your remote computer can block streaming protocols; try temporarily disabling them to test the connection.
-
Verify User Group Permissions: Access your camera’s administrative settings and confirm that your user account has been granted "Remote Access" or "Administrator" viewing privileges.
-
Check Web Browser Compatibility: Many modern browsers (like Chrome, Safari, and Edge) do not natively support older video streaming plugins; try using a browser that supports HTML5 streaming or check your manufacturer’s guide for compatible browser extensions.
What Are Potential Risks of Remote Access to Security Cameras?
Security risks associated with IP camera setup for remote viewing? Fear NOT ! Although the P2P applications contain some safety vulnerabilities, security camera providers can take advantage of the encryption technology, such as SL encryption, WPA2-AES encryption and SSL-TLS enabled to prevent exposure of your privacy.
Since the security camera remote viewing free software is required if you want to set up your IP camera (e.g. Reolink, Amcrest, Swann, etc.) for remote access via the UID, it may not apply to you if your camera provider doesn’t offer such IP camera remote viewing software.
Note: Broadly speaking, the camera software provided by the sellers can only allow you to watch CCTV cameras of the same brand from anywhere using Internet. It can’t work with the security cameras of other brands.
What Users Say About Remote Viewing for Security Cameras?
Reddit users generally agree that remote viewing depends more on the NVR software and mobile experience than on camera image quality alone. Commercial-grade systems may offer durable hardware, but their mobile apps are often designed for professional monitoring centers rather than homeowners who want a simple phone interface.
Many users recommend connecting compatible PoE cameras to third-party NVR software such as Blue Iris or Frigate. These platforms can provide live viewing, motion alerts, recorded-event playback, and greater control over how footage is stored and accessed. Some technically experienced users also isolate cameras on a separate network and allow remote access only through the NVR for better security.
I use Blue Iris as my NVR and their app for iOS is pretty decent for monitoring.
I have the ReoLink POE camera's (9 of them) and their app works great on my PC and Phone.
The discussion also shows that homeowners value a turnkey app that works reliably across phones and computers. One Reolink user reported a positive remote-viewing experience with nine PoE cameras, while others suggested ONVIF-compatible viewer apps when the manufacturer’s software does not meet their needs. Overall, users prefer systems that combine local recording, fast alerts, easy playback, and reliable remote access without requiring complex configuration.
FAQs
Can I Visit My Wi-Fi Security Camera While I Am in Another Country?
can i visit my wi-fi security camera while i am in another country
Definitely yes! By following the above procedures about how to set up an IP camera for remote viewing, you’ll be able to view your IP cameras online om your smartphone when you go abroad and outside your network using Internet or different WiFi connections, even you are travelling abroad.
Can I Set up My IP Cameras for Remote Viewing without Using a DDNS Service?
If your Internet service provider offers you a static IP address, you can always remotely view your security camera using the Internet with the same IP address and the DDNS setup is not required.
Another easier way to stream your IP cameras over Internet without DDNS service is to buy security cameras for home that support P2P. You simply need to enter the camera UDI and password, and then you’ll be able to view the IP cameras online outside your network from anywhere.
Is There Free Surveillance Software to Access my IP cameras from Another Computer Network?
Normally when you buy security cameras, the camera sellers would offer free software for you to set up the IP cameras for remote viewing (like Reolink App and Client) via different WiFi networks.
Is It Possible to Manage Multiple Cameras with the Same App?
Yes, you can also watch multiple CCTV security cameras from anywhere using Internet with the same App or Client. For example, both Reolink App and Client allow for multi-screen live streaming (up to 16 screens for app and 36 screens for Client) on your phone and computer.
Conclusion
This guide illustrate how to set up remote viewing for your security camera. Remotely accessing to your camera models can be easy if you follow the right guidelines.
If you have more problems about setting up your IP camera for remote viewing or watching CCTV cameras from anywhere using Internet, feel free to leave your comment below and we would love to help.
Search
Subscribe for the Latest Updates
Security insights & offers right into your inbox