
How to Install Security Cameras Without Drilling Holes: Step-by-Step Guide
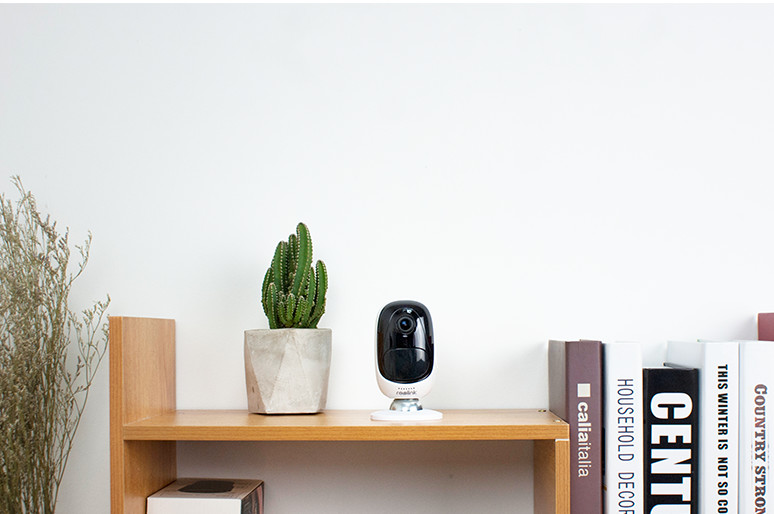
OK, you don’t wanna drill holes to install your security cameras, since you don’t want to ruin your house’s perfect décor or brand-new siding. Or you are renting an apartment, your landlord would not allow you to install the security cameras with screws.
Guess what? You can install your security cameras without drilling screws at all!
This article will offer you 5 methods on how to mount security camera to brick without drilling holes.
Adhesive Mount for Security Camera
Best for: Apartments, rental properties, indoor walls, glass doors, and other smooth surfaces where drilling is not allowed.
-
Clean Surfaces: Wipe both the wall and the camera base thoroughly with rubbing alcohol. Let dry completely to remove all dust and oils.
-
Apply Tape: Stick heavy-duty outdoor tape (like 3M VHB) onto the camera base. Press down firmly with your thumbs for 30 seconds to activate the adhesive.
-
Press to Wall: Peel off the tape backing, position the base on the wall, and press it against the surface with maximum force for a full 60 seconds.
-
Wait 24 Hours (Crucial): Do not attach the camera yet. Leave the empty baseplate stuck to the wall for a full day so the adhesive can cure to 100% strength.
-
Mount Camera: After 24 hours, snap or slide the camera body onto the baseplate and adjust your viewing angle.
Magnetic Mount for Security Camera
Best for: Metal surfaces such as steel doors, fences, beams, garage doors, shipping containers, or other magnetic mounting locations. Ideal for temporary installations, renters, and users who want to reposition the camera easily.
-
Find a Metal Surface: Test your mounting spot with a kitchen magnet. It must stick to magnetic metal (like iron or steel). It will not work on aluminum siding or copper gutters.
-
Clean the Spot: Wipe the metal surface with a damp cloth or rubbing alcohol to remove dirt, grease, or rust flakes. Let it dry.
-
Attach the Magnet Base: Place your industrial magnetic mounting base onto the metal surface. Ensure it snaps on flat and flush without wobbling.
-
Snap on the Camera: Attach your camera to the magnetic base (either via a 1/4-inch screw thread or a magnetic ball joint, depending on your model).
-
Adjust and Test: Open your camera's live-view app, adjust the angle by rotating the camera, and confirm your view is correct.
Pro-Tips for Safety:
-
Wind Proofing: Use a magnet base rated for at least 20–30 lbs of pull force. While the camera might only weigh 1 lb, strong winds can rip a weak magnet right off the wall.
-
Scratch Prevention: Look for rubber-coated magnets. They protect your home's metal paint from scratching and provide extra friction so the camera doesn't slide down over time.
Gutter Mount for Security Camera
Best for: Homes with rain gutters, allowing you to install a security camera without drilling into walls or the roof. Ideal for monitoring driveways, front yards, entryways, and other outdoor areas while avoiding permanent modifications.
-
Check Gutter Compatibility: Ensure your roof gutters are made of sturdy metal (like aluminum or steel). Do not use this method on vinyl or plastic gutters, as they cannot support the weight and tension over time.
-
Select a No-Drill Gutter Mount: Purchase a dedicated security camera gutter mount. These are weather-resistant brackets designed to clamp securely onto the front lip of your gutter without puncturing it.
-
Position the Bracket: Slide the groove of the mounting bracket over the top edge/front lip of the gutter at your desired location. Make sure it sits flush against the metal.
-
Tighten the Thumb Screws: Hand-tighten the integrated clamp screws on the bracket until it grips the gutter lip firmly. Do not use power tools, as over-tightening can dent or warp the aluminum gutter.
-
Attach and Adjust Camera: Screw your security camera onto the mount's universal 1/4-inch thread joint. Open your camera's live-view app to adjust the rotation and tilt angle, then lock it in place.
Suction Cups Mount for Security Camera
Best for: Glass windows, sliding doors, mirrors, and other smooth, non-porous surfaces. Ideal for indoor use, temporary installations, rental properties, or testing camera placement before permanent mounting.
-
Choose Smooth Surfaces: Select a non-porous, perfectly smooth surface like window glass, tile, polished metal, or PVC panels. Suction cups will fail instantly on textured siding, brick, stucco, or matte-painted wood.
-
Clean the Surface: Wipe the glass or surface thoroughly with rubbing alcohol and a microfiber cloth to remove all dust, grease, and streaks. Let it dry completely.
-
Prep the Suction Cup: Use a high-quality, heavy-duty industrial suction cup mount. Clean the rubber pad with water, and make sure it is completely clean and slightly damp (not wet) to create a perfect airtight seal.
-
Engage the Vacuum Lock: Press the suction cup firmly against the surface to push out all the air, then push down or twist the locking lever to create the vacuum seal. Pull on the mount gently to ensure it is rock-solid.
-
Attach and Test Camera: Mount your security camera onto the bracket. Open your camera app to adjust the viewing angle, and check the mount every few weeks to ensure temperature changes haven't weakened the seal.
Clamp Mount for Security Camera
Best for: Railings, poles, fences, gutters, balcony rails, pipes, and tree branches. Ideal for outdoor installations where drilling is not possible and the camera may need to be repositioned or removed easily.
-
Identify a Mounting Anchor: Find a sturdy, rigid structure to attach the clamp, such as a porch railing, gutter edge, tree branch, desk, or fence post. Ensure the surface can support both the clamp's pressure and the camera's weight.
-
Open the Jaw and Position: Loosen the clamp's screw knob or squeeze the spring handle to open the jaws. Position it fully over the chosen surface, ensuring the flat rubber padding inside the jaws is resting flush against the anchor point.
-
Tighten and Lock Securely: Screw the adjustment knob firmly by hand until the clamp has a solid, unmovable grip. If using a heavy-duty spring clamp, ensure it has completely closed and snapped tightly into place without wobbling.
-
Attach the Security Camera: Screw your camera onto the clamp's integrated 1/4-inch universal thread or snap it onto the joint, depending on your clamp model's connection type.
-
Adjust Angle and Verify View: Open your camera's live-view app. Rotate the clamp's ball head or flexible neck to dial in the perfect monitoring angle, then tighten the joint's locking screw to hold the camera position.
What Type of Security Camera Is Best for No-Drill Installation?
Battery-Powered WiFi Cameras
Best mounting methods: Adhesive Mount, Magnetic Mount, Clamp Mount
Battery-powered WiFi cameras are the easiest option for no-drill installation because they don't require power or Ethernet cables. Their lightweight design works well with adhesive, magnetic, or clamp mounts, making them ideal for renters and temporary installations.
Recommended: Reolink Argus 4 Pro
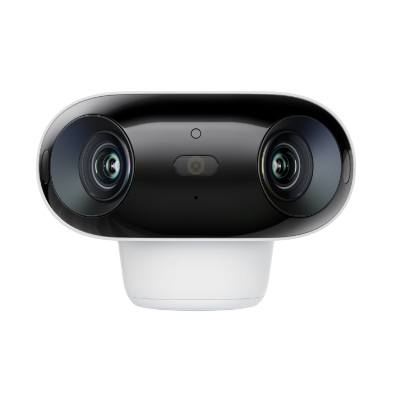
4k 180° Wire-free Color Night Vision Camera
4K UHD 180° Blindspot-free View; Color Vision Day and Night; 30% More Battery Life; Dual-band Wi-Fi 6; Smart detection.
Solar-Powered Security Cameras
Best mounting methods: Clamp Mount
Solar-powered cameras are perfect for long-term outdoor installations without drilling. A clamp or pole mount allows you to secure the camera while positioning the solar panel for maximum sunlight.
Recommended: Reolink Altas PT Ultra
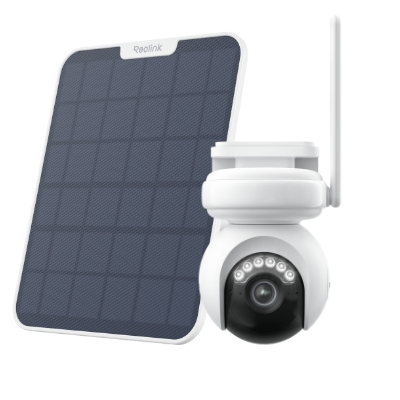
4K Battery-Powered PTZ Camera with Continuous Recording
👍 4K UHD video with continuous recording
👍 ColorX night vision in low light
👍 Pan, tilt, and automatic person tracking
👍 Local storage without monthly fees
Small Indoor Security Cameras
Best mounting methods: Adhesive Mount
For indoor monitoring, lightweight cameras can be mounted on walls, windows, or glass doors using adhesive pads or suction cups. These methods are ideal for apartments and rental homes where drilling isn't allowed.
Recommended: Reolink E1 Series
FAQs
How do I stick a security camera to the wall?
First, select a suitable location on the wall near a power source and within the camera's optimal viewing angle. Use screws or mounting brackets provided with the camera to securely affix it to the wall. You need to ensure it's level and firmly attached. Double-check the camera's stability and adjust as needed before connecting it to the power source and network for operation.
What tools can I use to mount security cameras without screws?
You can use adhesive mounts specifically designed for security cameras, magnetic mounts for cameras with magnetic bases, or clamp mounts that attach securely to various surfaces without the need for screws. You can also use the Reolink's PoE splitter and combiner, which can faciliate PoE wiring.
What are the most common mistakes when installing security cameras?
One of the most common mistakes is installing the camera in the wrong location. Mounting it too high or too low, placing it where trees or walls block the view, or pointing it toward direct sunlight can reduce image quality and create blind spots. For wireless models, failing to check the WiFi or cellular signal before installation may also lead to unstable performance.
Another common mistake is using an unsuitable mounting method or skipping installation checks. Make sure the mount matches the camera's weight and the mounting surface, and always test the viewing angle before securing the camera. Regularly inspecting the mount, especially for outdoor installations, also helps ensure long-term stability and reliable security coverage.
How can I attach an outdoor camera to an aluminum door frame without drilling?
Since aluminum is non-magnetic, a magnetic mount won't work in most cases. Instead, use a heavy-duty outdoor adhesive mount for smooth aluminum surfaces or a clamp mount if the door frame design allows. Pairing the mount with a lightweight camera provides the most secure and damage-free installation.
Conclusion
Mounting security cameras without screws offers versatile solutions for hassle-free installations. If you have any questions on installing security cameras without drilling holes, or have any DIY projects you wanna share with us, please leave them in the comment!
- Buy DIY Security Cameras Without Installation? Get Your Step-by-Step Guide Now
- How to Install Security Camera Wiring For Both Outdoors and Indoors : Step-by-Step Guide & Videos
- Can Tenants Install Security Cameras (Systems) Inside or Outside the Apartments
- CCTV Camera Installation: 2024 Professional Guide
- Best Buying Easy-to-Install Security Cameras for 2024? Here’s What to Expect
- Camera Mounting Bracket: Choosing the Best
Search
Subscribe for the Latest Updates
Security insights & offers right into your inbox