Ultimate Guide: How To Set Up Your Own Bird Feeder Cam in 2026
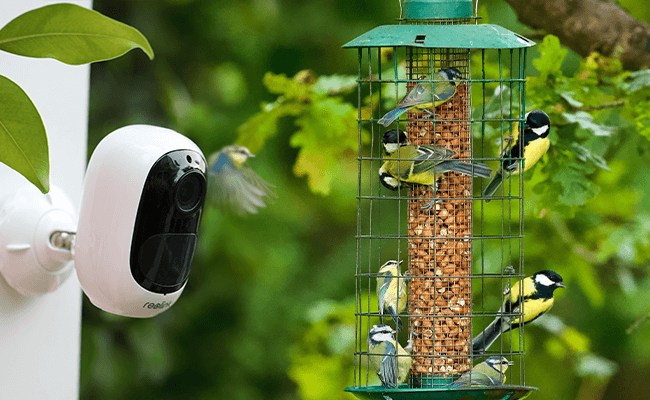
Bird watching is an interesting activity and having a bird feeder camera gives you an opportunity to watch the wonders of nature without disturbing the birds themselves.
Setting a camera and being able to capture the birds as they visit your feeder is a beautiful experience. Setting up a bird feeder cam can be a pretty easy task to do. All that’s needed is the right camera to start with.
- What is a bird feeder camera?
- What kind of camera can you use to record birds at a feeder?
- Camera Recomandations
- A Step by Step Guide on How to Set Up a Wireless Wifi Bird Feeder Cam
- Why Should I Use a PoE Bird Feeder Cam?
- What About A True Wire-free Bird Feeder Camera?
- How to Live Stream a Bird Feeder Cam, Step by Step Guide
- 10 Best Live Bird Feeder Cam Around the World (Editor’s Choice)
- Conclusion
What is a bird feeder camera?
A bird feeder camera is an automated photo or video camera with a weatherproof casing that is suitable for outdoor use.
A bird feeder camera system enables you to record whatever is happening at your feeders when you’re away from home. It also lets you record and watch live videos from wherever you are.
What kind of camera can you use to record birds at a feeder?
There are different kinds of cameras that you can use in recording birds at a feeder. They include the following:
- Bird feeder cameras: These cameras are often fixed as a part of the bird feeder or stationed somewhere really close to the feeder. Brands include Bird Buddy and Go Pro and they come with a price range of $1,000 to $5,000.
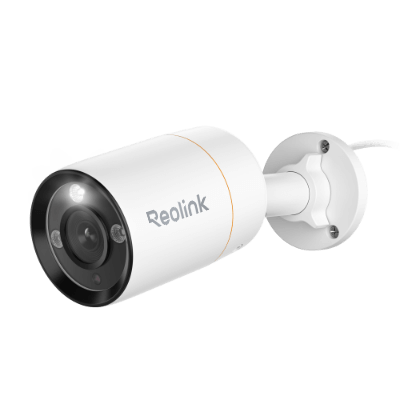
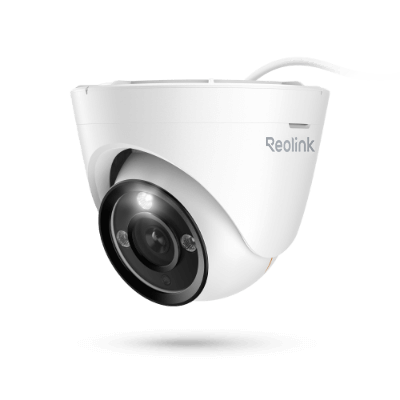
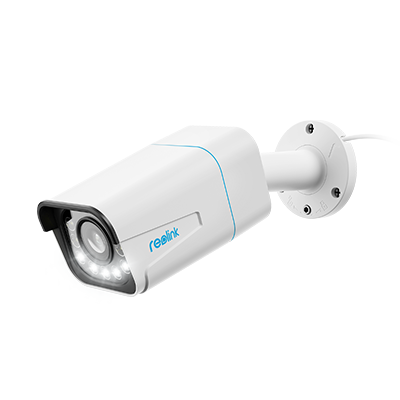
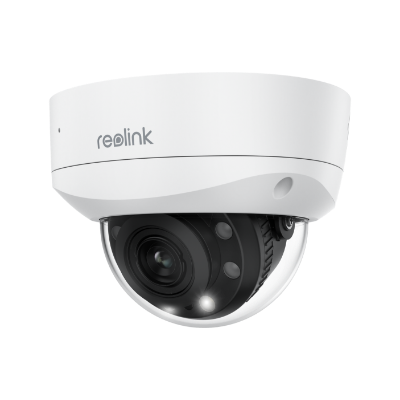
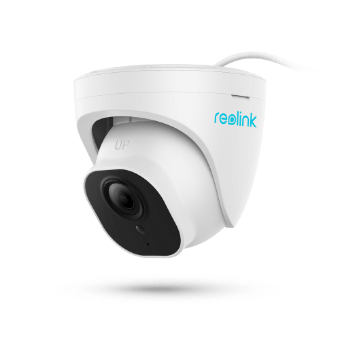
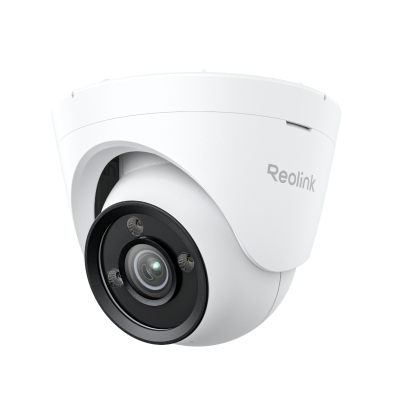
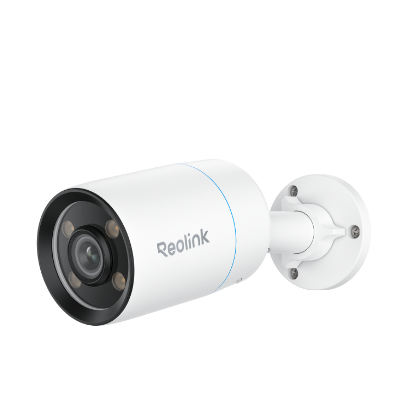
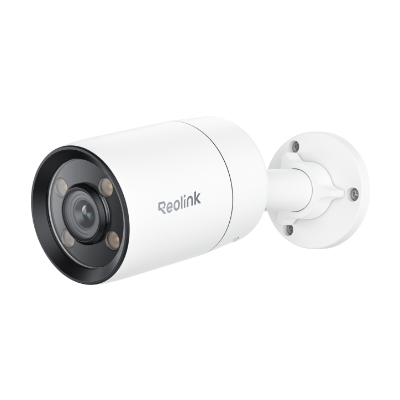
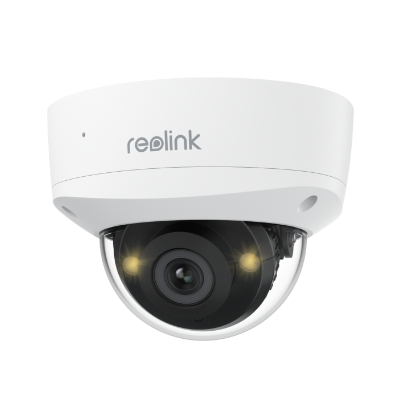
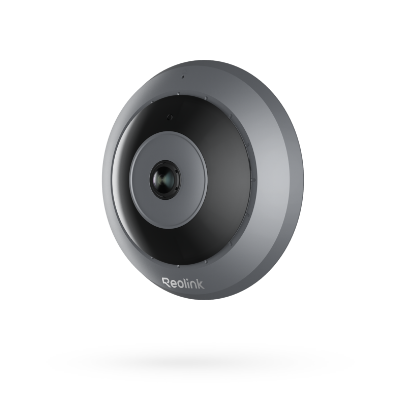
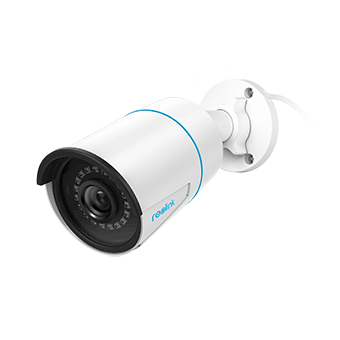
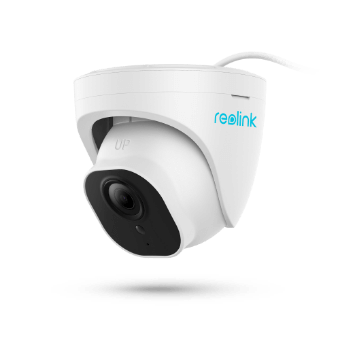
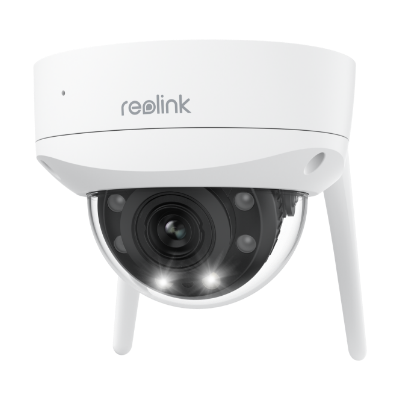
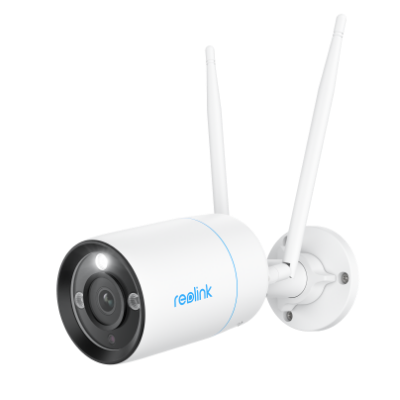
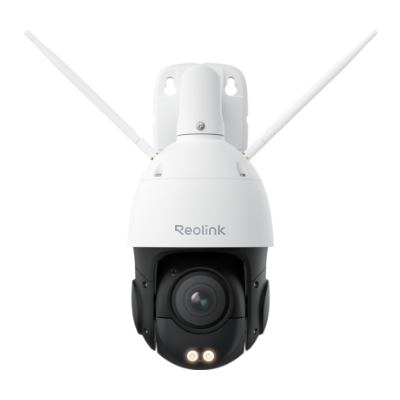
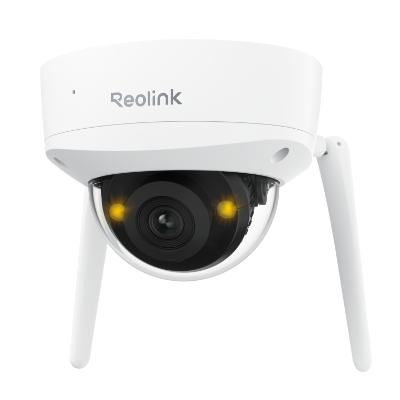
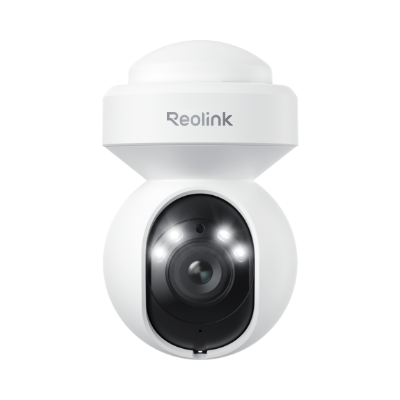
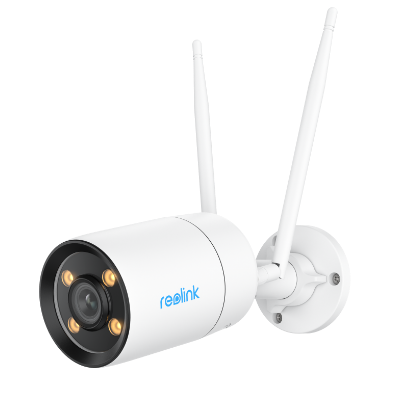
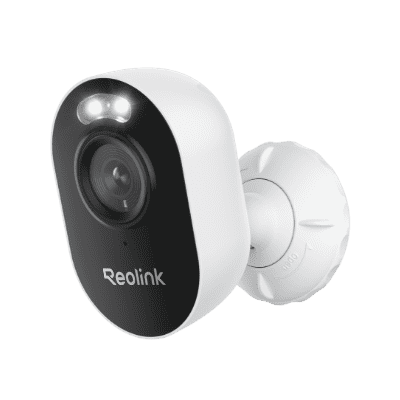
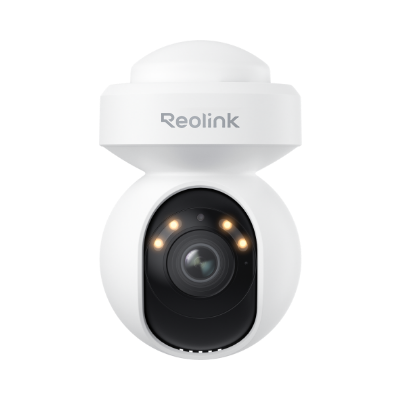
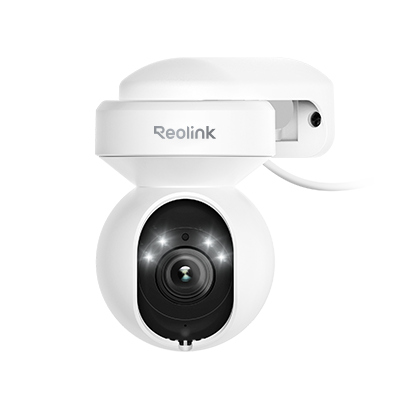
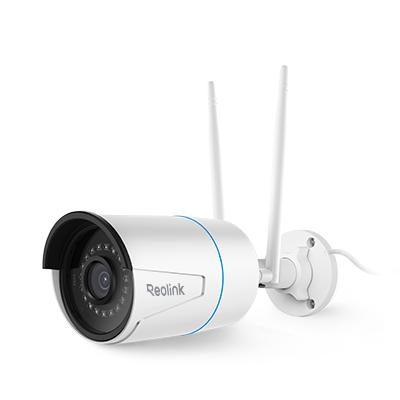
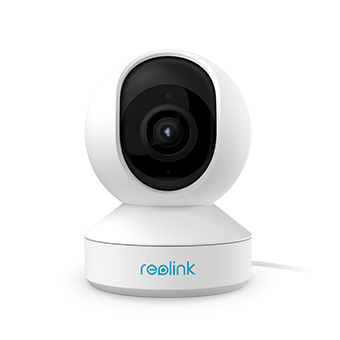
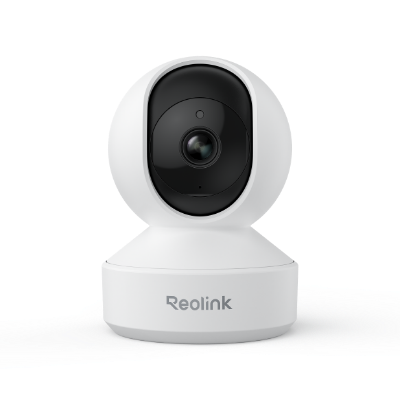
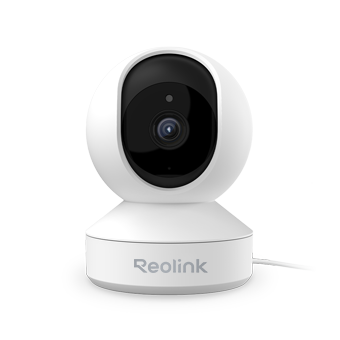
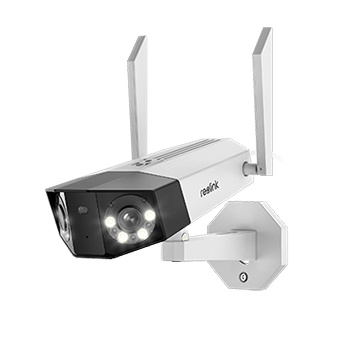
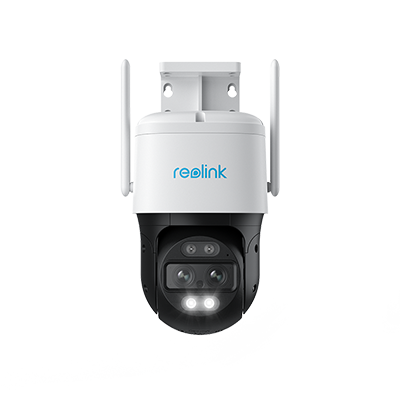
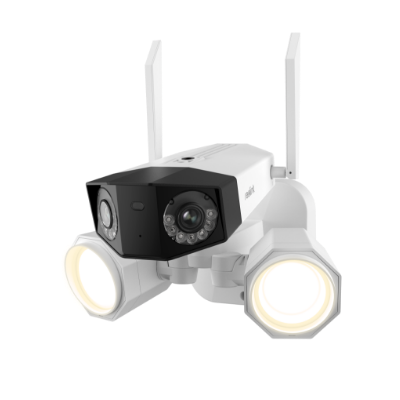
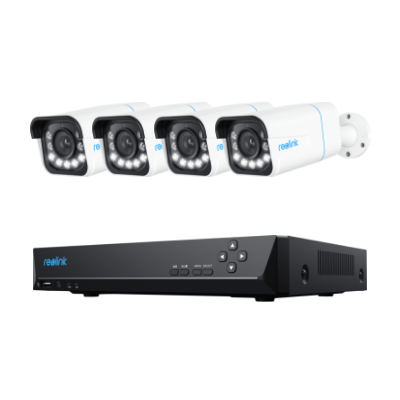
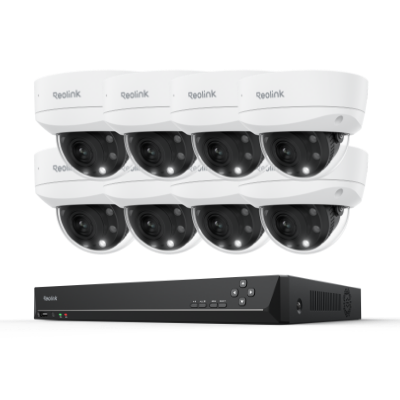
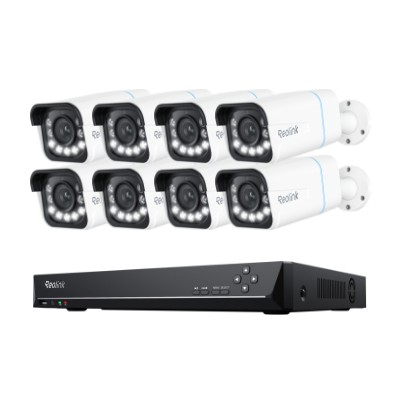
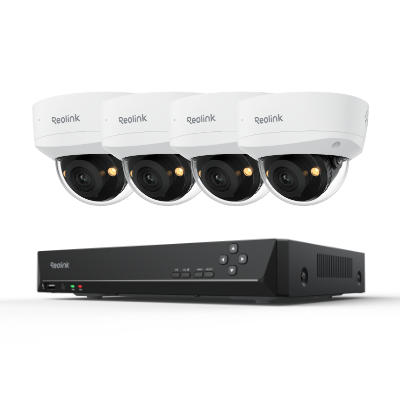
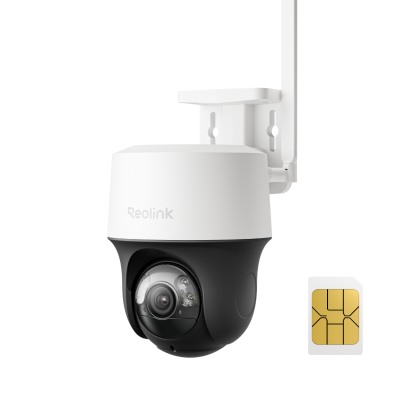
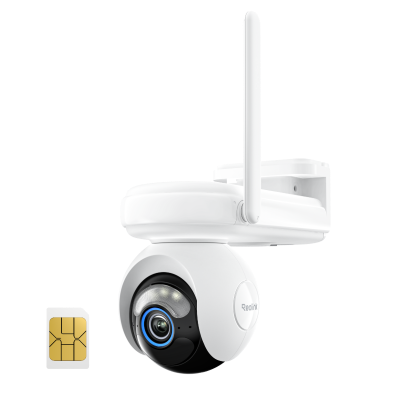
- Wireless IP cameras: Brands that manufacture this include Arlo, Reolink, Wyze, and Eufy, and price ranges from $50 to $200.
- Digital cameras: These cameras come in handy in wildlife photography and can also be used to record bird activity at feeders. Popular brands include Canon, Nikon, Sony, and Olympus and their prices range from $1,000 to $5,000.
- DIY (Smartphone camera and a pair of binoculars): You can simply make use of your old smartphone and combine it with binoculars to get good bird shots.
- Binoculars: Brands include Nikon, Vortex, Celestron, etc, and their prices range from $50 to $3,000.
- Digital camera binoculars: Just like the name sounds, they are a pair of binoculars with a digital camera included. This comes in handy in cases where your digital camera can’t get close enough. So, the binoculars allow you to take a photograph of what you see through them. They also have an instant replay feature where the user can save the last 5 to 60 seconds of whatever they are viewing. They have a price range of $50 - $1,000.
- Telescope: Brands you can purchase include Celestron, Orion, and Sky-Watcher. They cost anything from $100 to $1,000.
Examples of Common Bird Feeder Cameras and their Prices
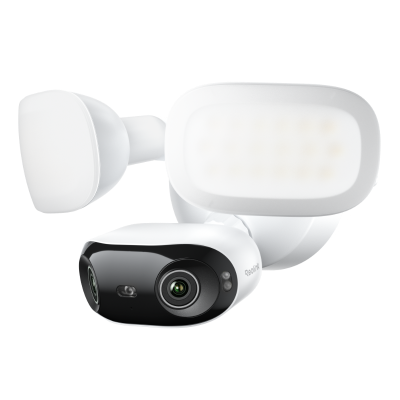
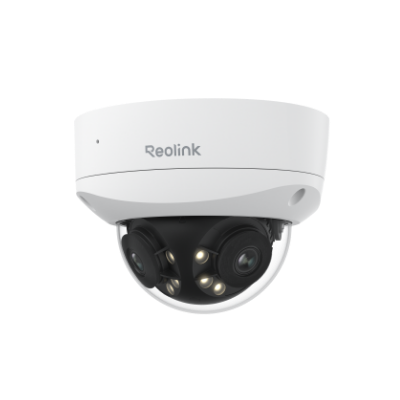
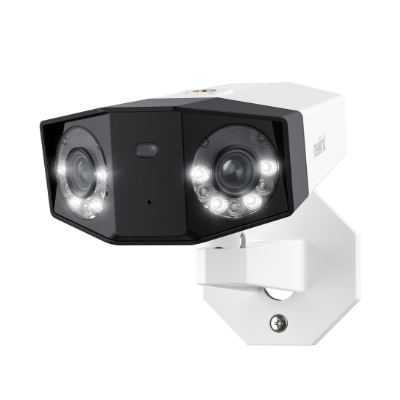
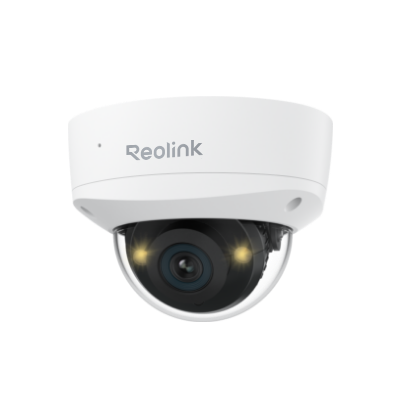
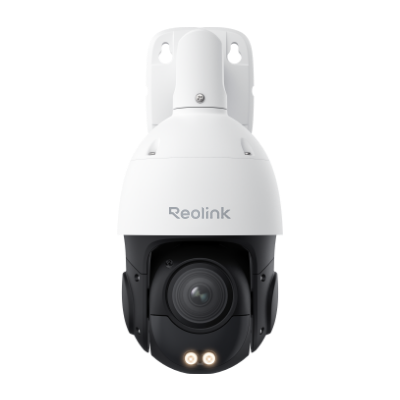
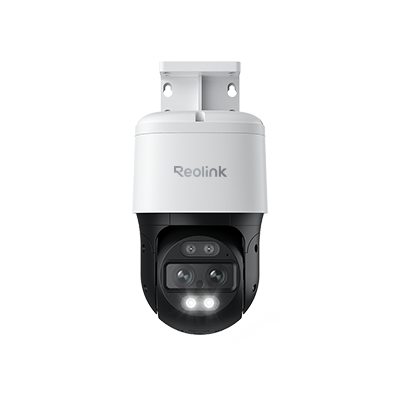
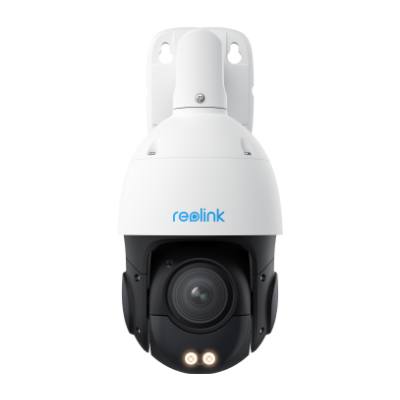
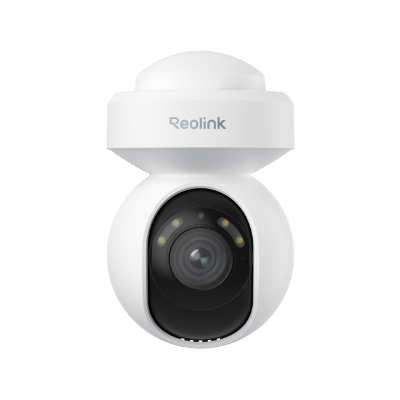
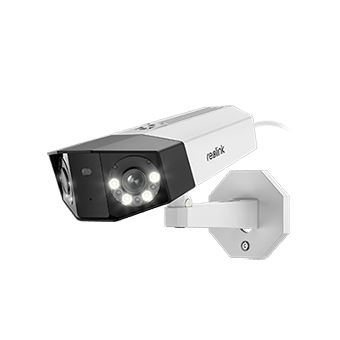
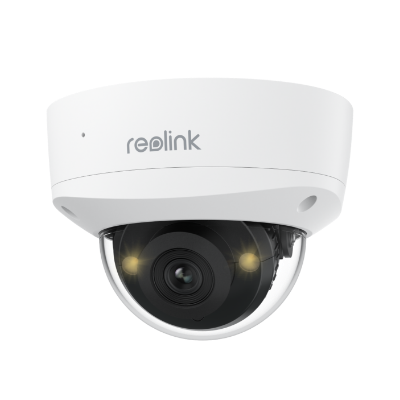
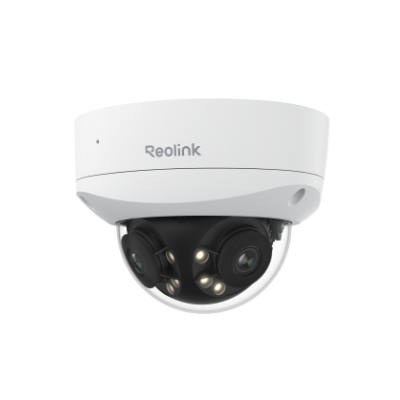
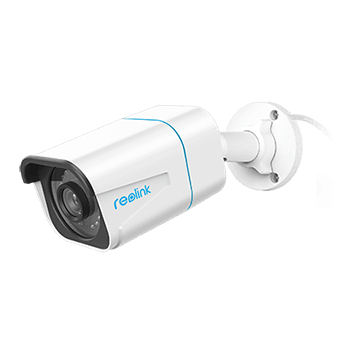
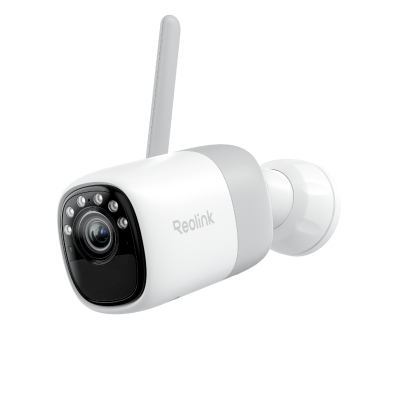
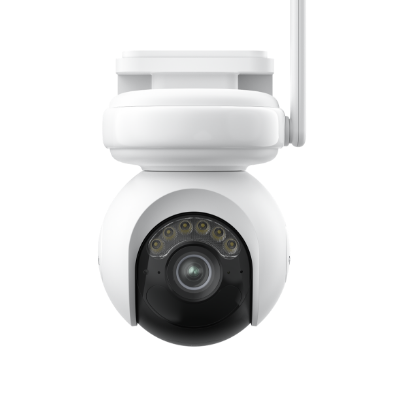
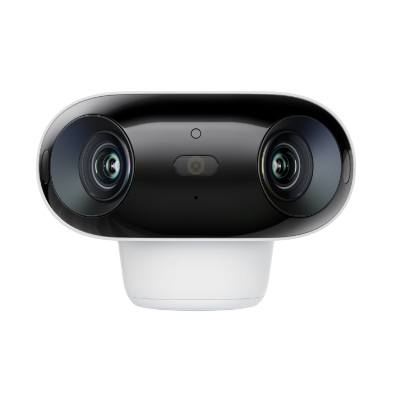
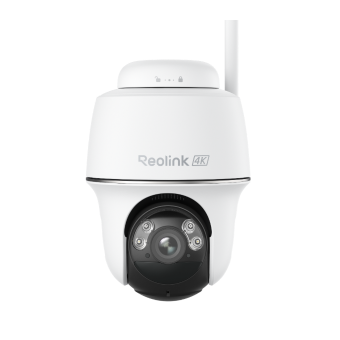
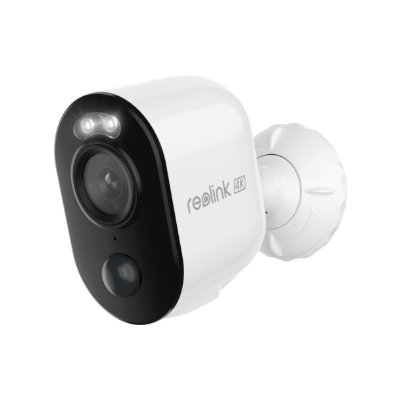
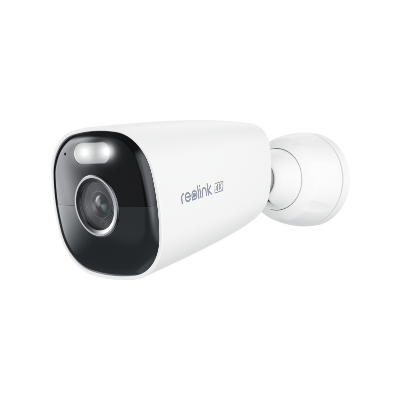
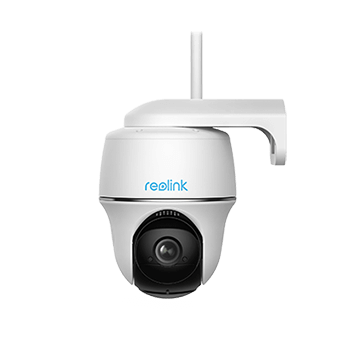
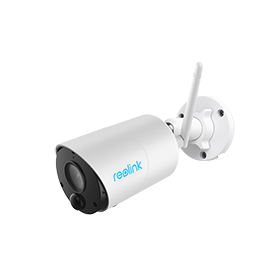
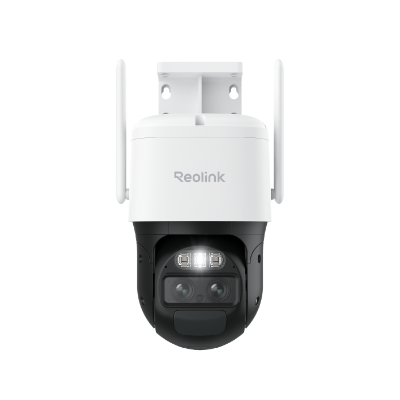
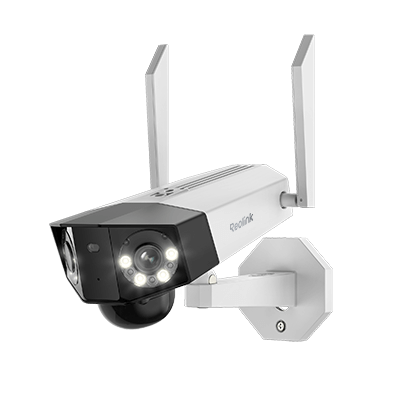
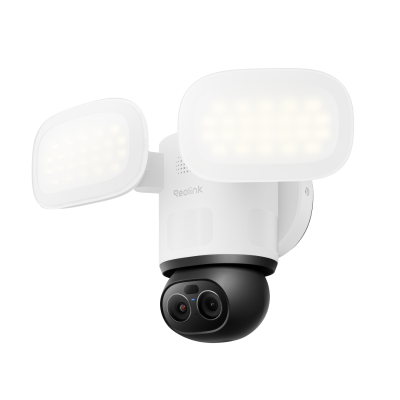
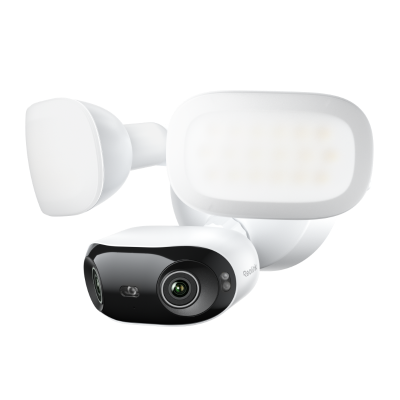
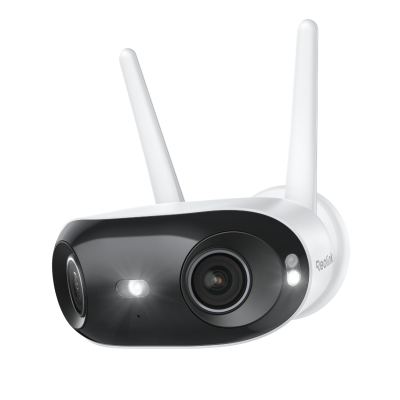
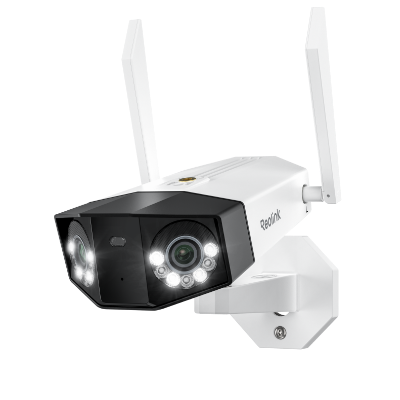
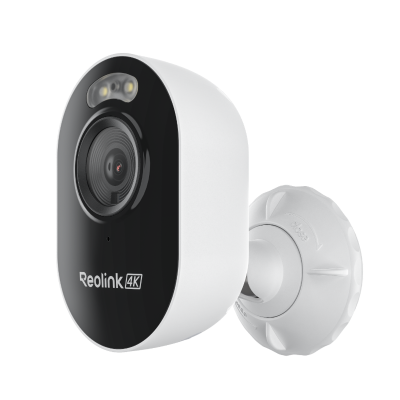
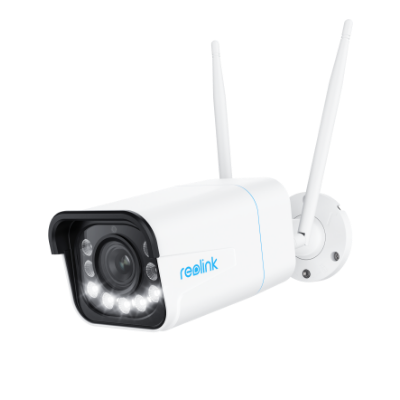
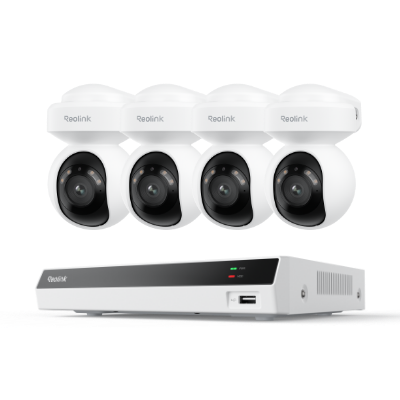
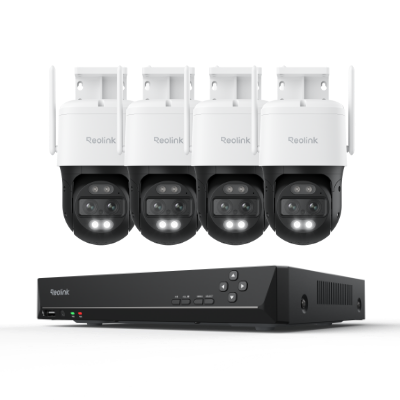
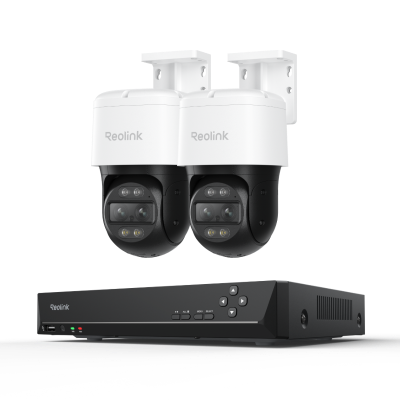
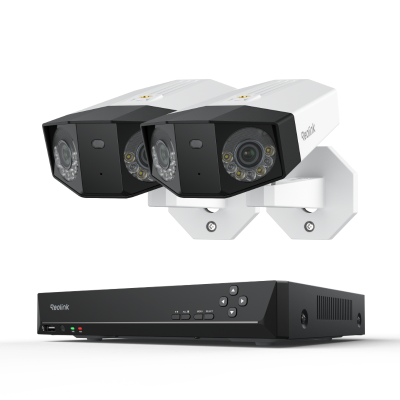
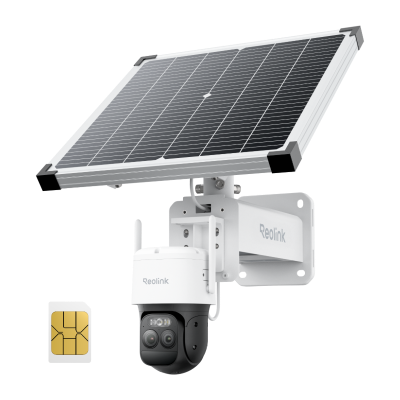
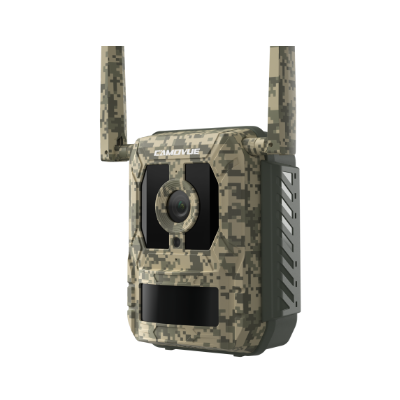
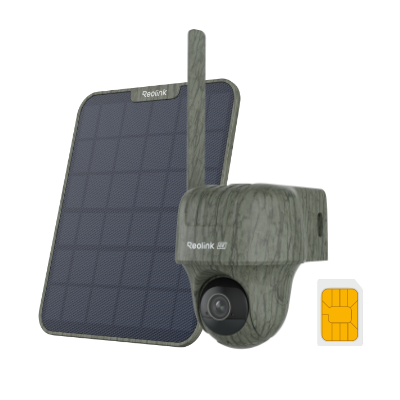
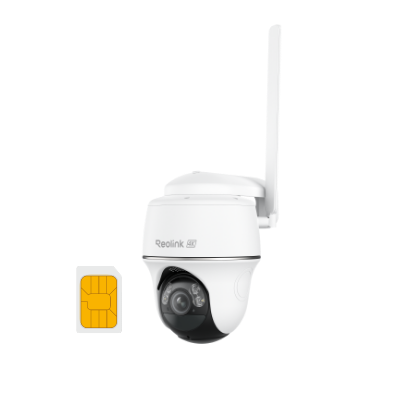
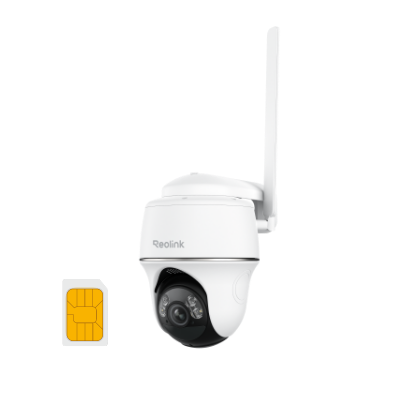
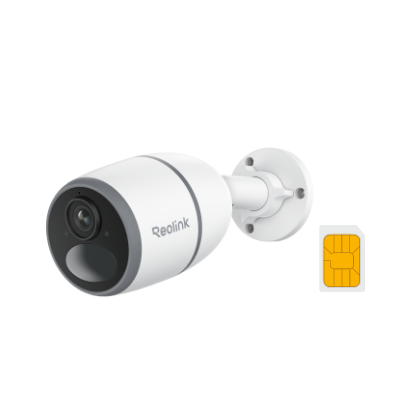
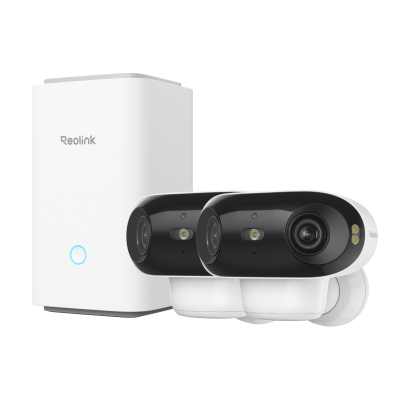
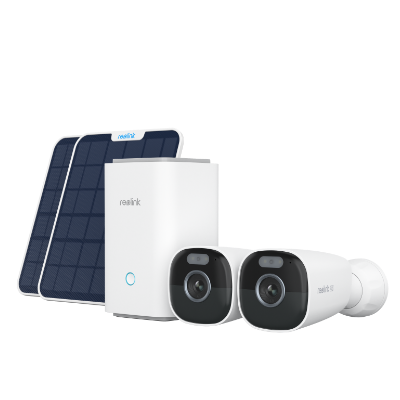
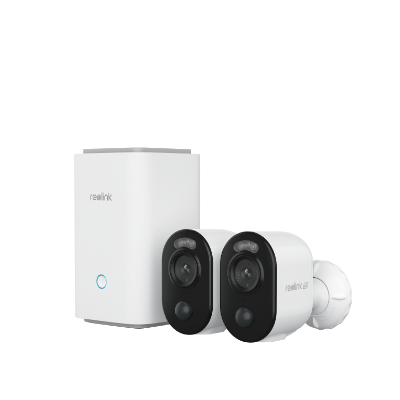
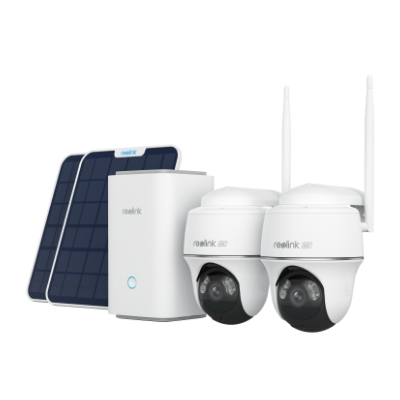
Regarding selecting a proper bird feeder camera, your options may be limited. However, the following are some examples of bird feeder cameras you can use:
Another thing worth noting is that most cameras sold aren’t marketed directly as bird feeder cameras, so it may take a bit of ingenuity on your end to be able to set up a camera system that can take quality shots and videos of your backyard birds.
What is a wildlife camera?
The wildlife camera, or trail camera, is a device designed for filming and photographing animals outdoors. When an animal passes by, it begins filming or photographing immediately. In some models, you can download the files wirelessly over Wi-Fi, while others allow you to save the images to a memory card that can be inserted into your computer.
Factors that affect choosing a camera to record your bird feeder
Choosing a camera that’ll suffice for the recording of your bird feeder may not be an easy task as you’ll have to take into account several factors. The following are some of the factors that come to play in choosing a camera for your bird feeder.
1. Power Source:
This is one very important factor to consider before buying a camera for bird watching. Is there a nearby electric outlet where you intend to set up your camera? If there isn’t any, probably because the bird feeder is at an isolated place, far from your house, then it’d be best if you purchase one of those battery powered wireless cameras like the Reolink Argus 2.
Because the battery life will be something of concern, battery powered cameras like this only come alive when motion is detected.On the other hand, having to cater to the troubles of a battery powered wireless camera may be too much of a hassle for you. If this is the case, then going for a PoE/ wired camera may be the best for you.
2. Recording Time:
The type of camera you’ll get also depends on when you intend to record with it. Is it in the daytime or during the night? In the sunlight, it’s always easy for almost any camera to capture all that’s happening, out where the bird feeder is or in the birdhouse.
It’s always best to go for a camera that’ll let you see what’s happening in dim light and at night if you intend to record by that time.This is where a camera with night vision features comes to play especially as a lot of birds are nocturnal in nature. Some camera to go for would include
3. Camera Resolution:
If you would be streaming live or simply recording, then the resolution of the camera you’re using is very important as it will determine the quality of your videos you get. It’s necessary you go for high-end bird feeder cameras that can give you the crisp videos you want. A good rule of thumb is to go for 1080p cameras and above. Some examples are Reolink 5MP PoE Outdoor/Indoor Camera, Campark Trail Camera and several others.
If you'd be viewing your streaming or recording from a larger screen, like a TV, then getting a 4k camera might do your videos much good. A good rule of thumb when buying your camera is to check the specs thoroughly before buying.
Camera Recomandations
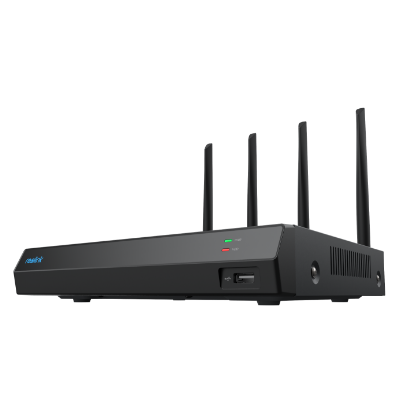
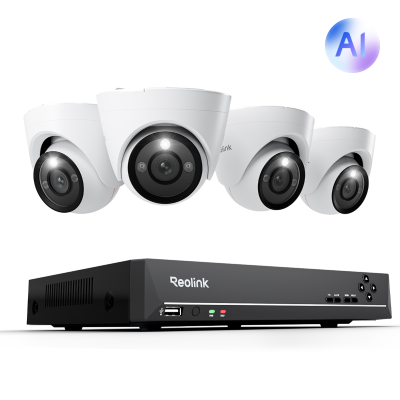
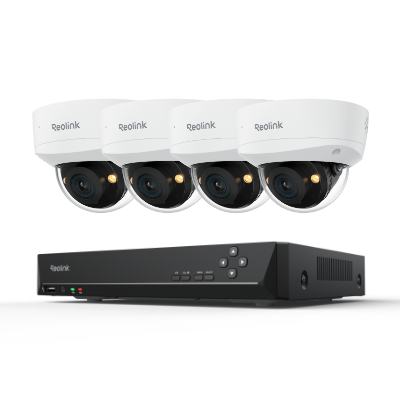
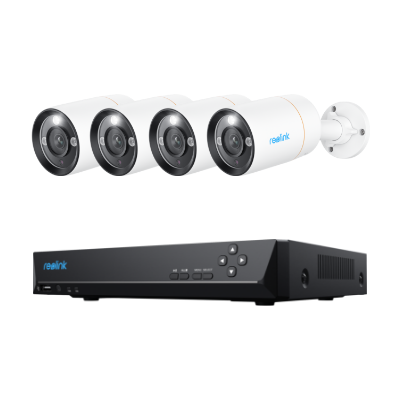
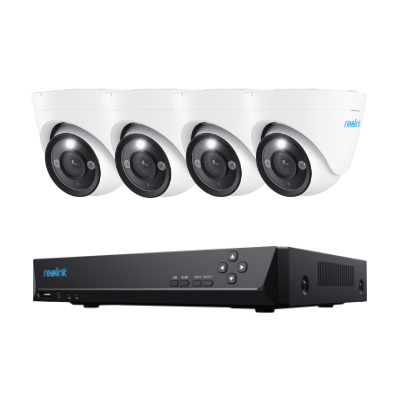
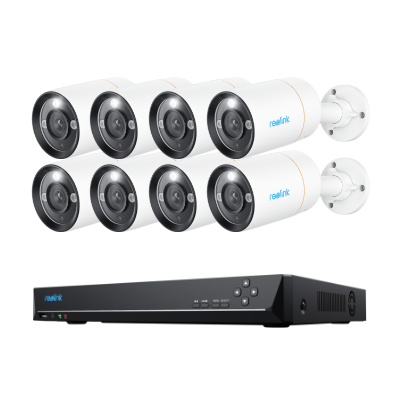
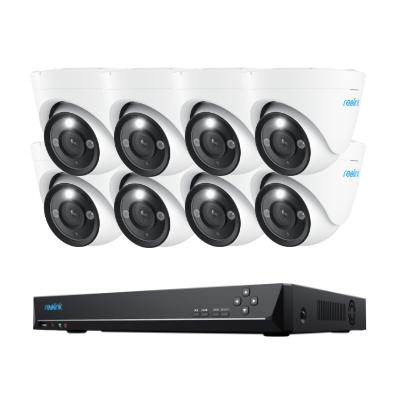
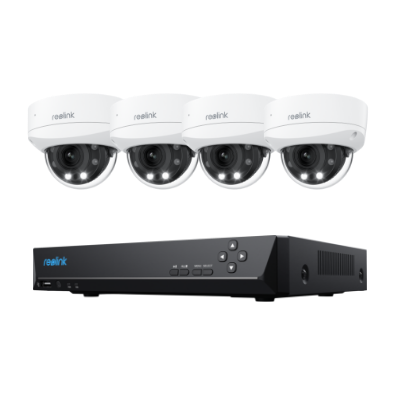
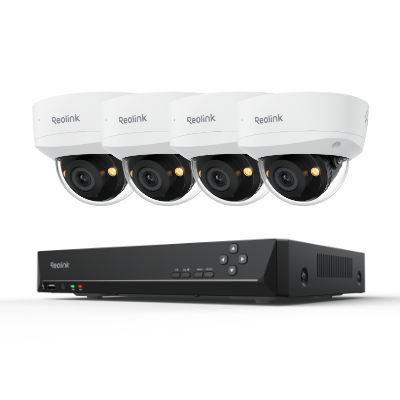
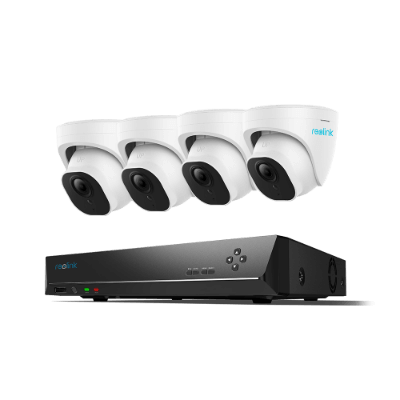
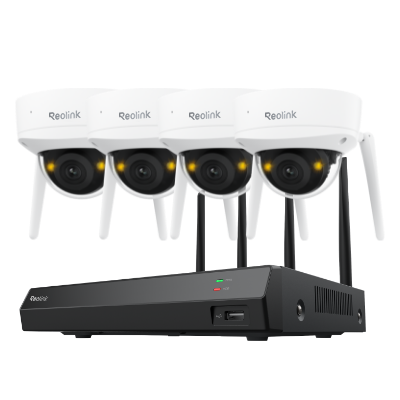
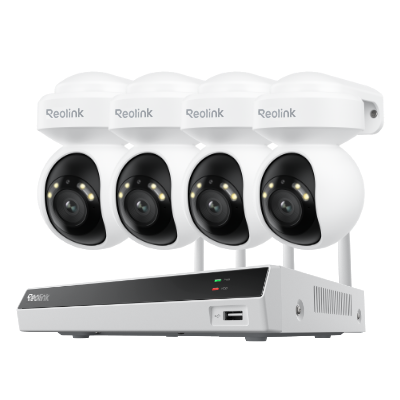
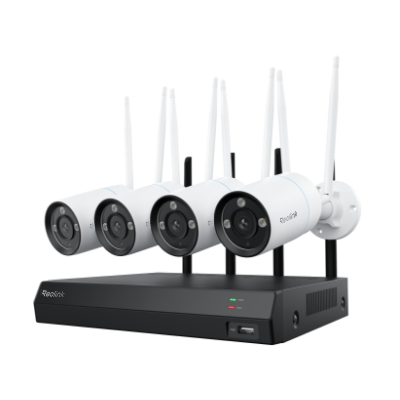
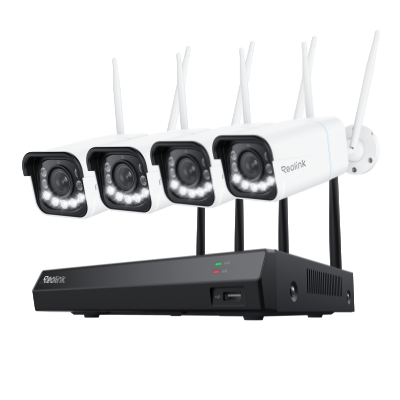
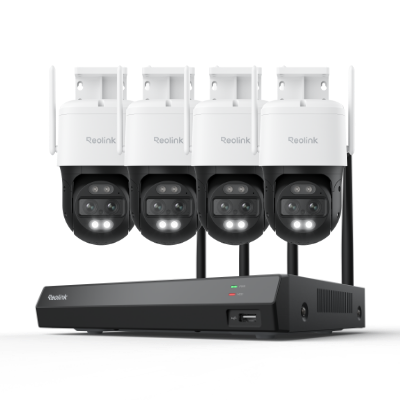
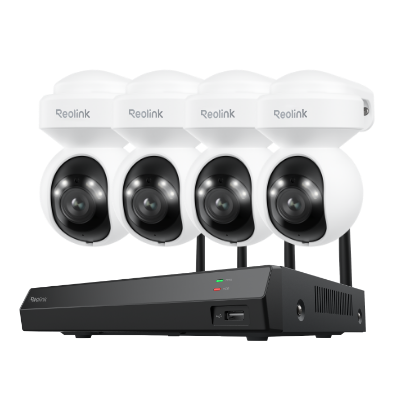
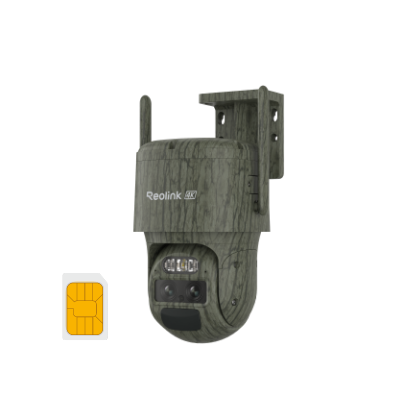
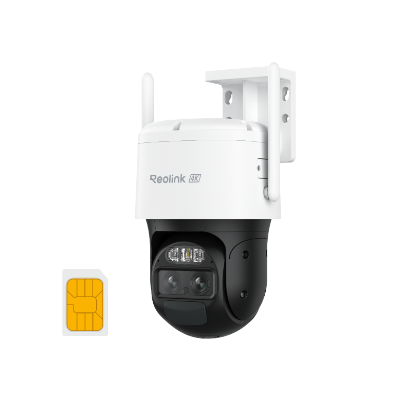
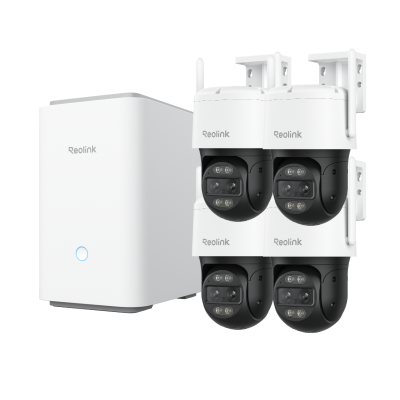
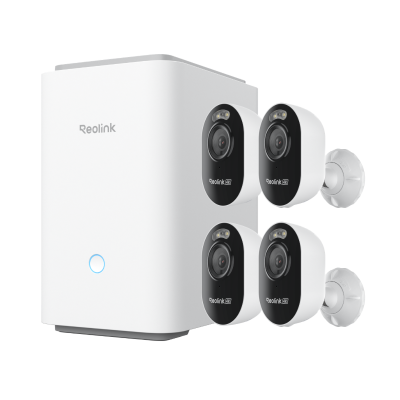
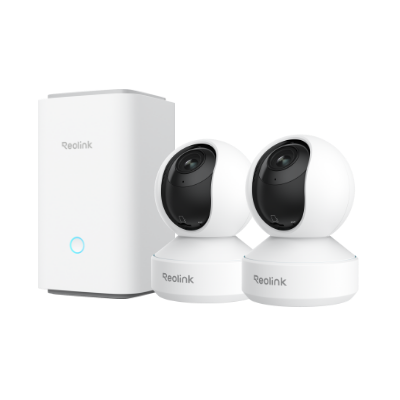
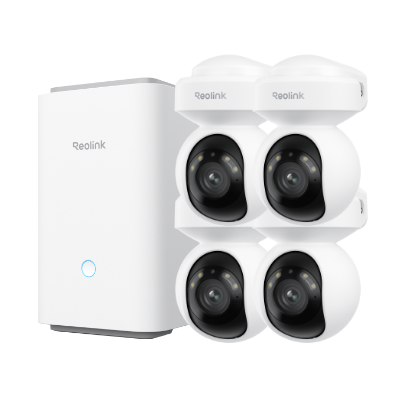
We recommend 3 solutions for bird feeder cameras:
The main difference between these three solutions is that their power supply sources are different, so naturally their wiring methods are different.
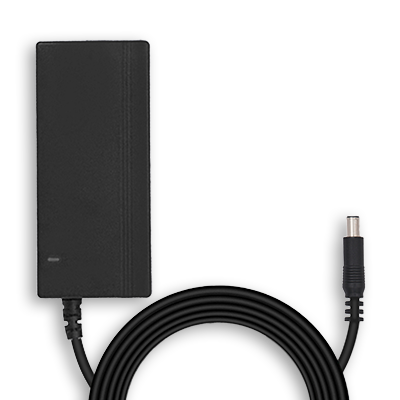
- Wifi camera: Use the power adapter to supply power.
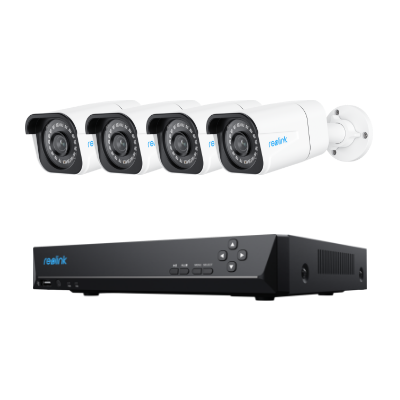
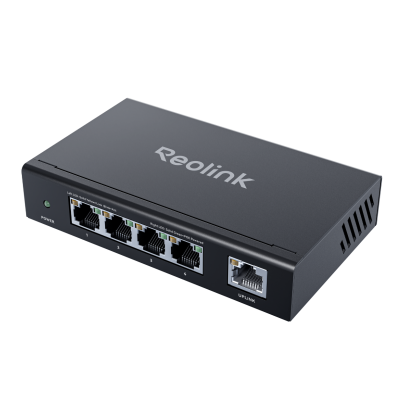
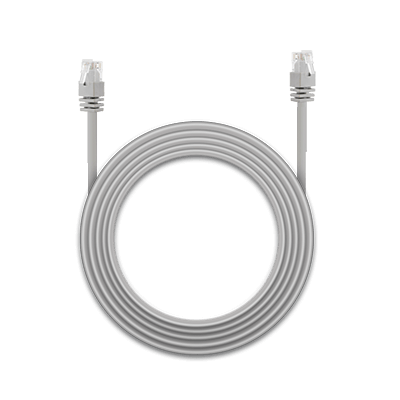
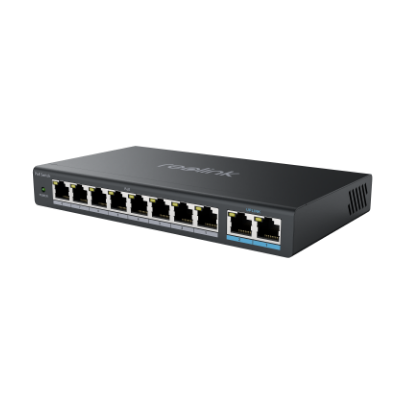
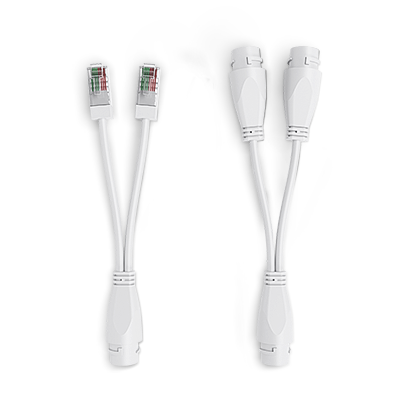
- PoE camera: network cable to supply power and also the network.
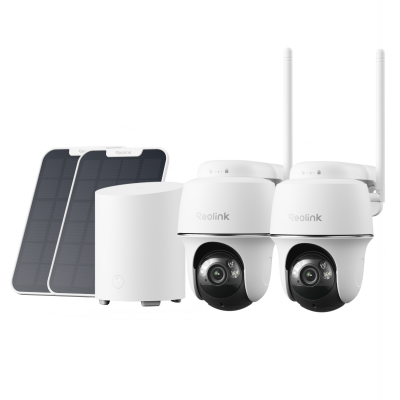
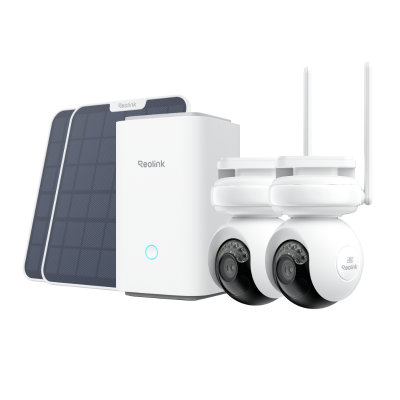
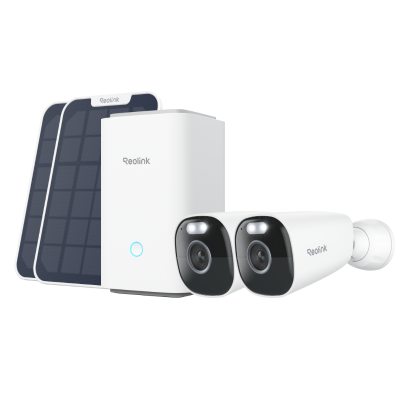
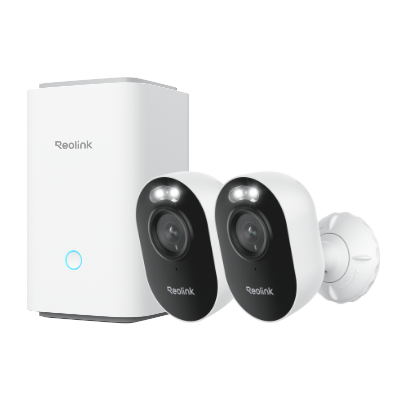
- True wire-free camera: ie, the battery camera. No wires are needed. Can be repeatedly charged, can be paired with solar panels.
In the next section, we explain the advantages and conditions of these three solutions. You can choose the most suitable solution according to your needs and conditions.
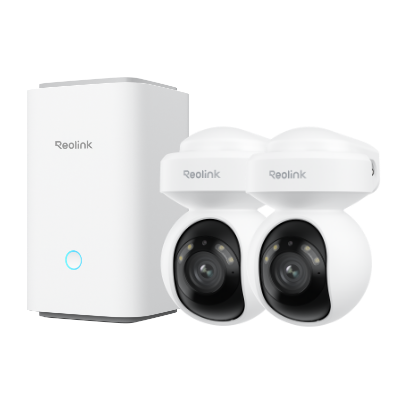
We recommend the WiFi camera because it is the perfect balance between functionality and needs. We found it to be the best fit for the bird feeder scenario. Its advantages are WiFi data transmission, easy wiring and installation, and small size.
A Step by Step Guide on How to Set Up a Wireless Wifi Bird Feeder Cam
A wireless Wifi bird feeder camera is a small camera that transmits video data via WiFi signal to enable watching birds remotely. You can watch high-definition videos of birds through TV, smartphone, or PC (including Mac computers).
The wireless bird feeder camera is usually set up outdoors and does not require a network cable. You only have to worry about the power supply, all you have to do is power up, and you're done.
Installing a wireless bird feeder camera is not difficult as it sounds. First of all, you need to ensure the following materials are ready;
- your wireless camera
- bird feeder
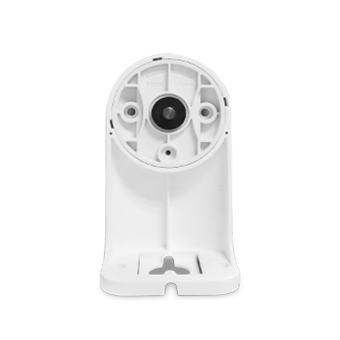
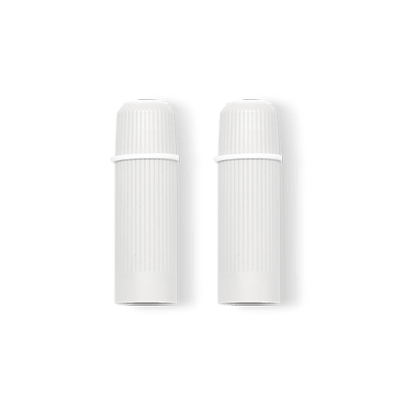
- cable guards or PVC pipes
- drill
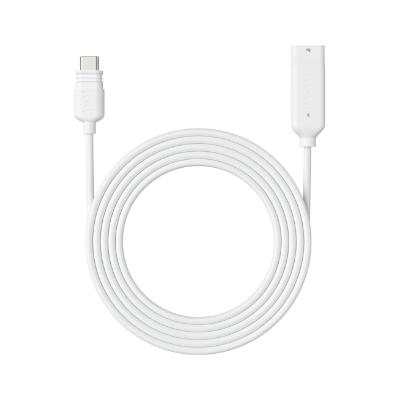
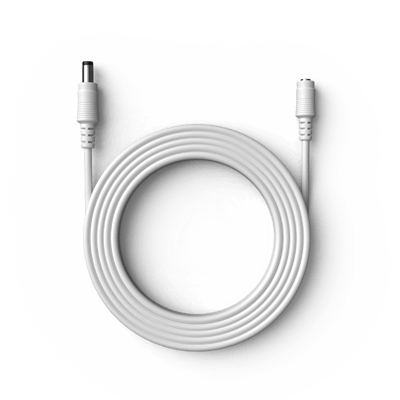
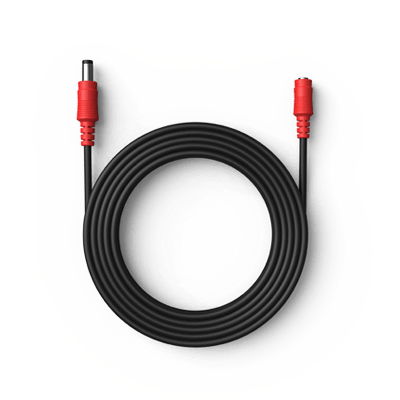
- power cable extension
Step 1: Select an Ideal location for your bird feeder cam setup.
You can place your wireless camera near a feeder or inside a birdhouse. You can do this by drilling a hole at the birdhouse with the camera facing outside.
Note that it is best to use smaller security cameras like these that can easily fit into the birdhouse, but if you don't have a birdhouse and only have a bird feeder. Set the camera directly in front of the birdhouse, and ensure it is well sheltered
Please note that it is best to use small security cameras like this, they can be easily installed in the birdhouse. But if you don’t have a birdhouse but only a bird feeder, you can put the camera directly in front of the birdhouse and make sure it is well sheltered.
Step 2: Run wires for the cameras and simply give your camera a power supply.
Considering that your backyard may be far away, or the camera's location is far from the power supply, you will need to connect the power supply over.
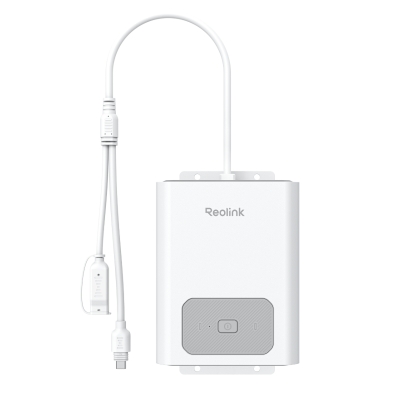
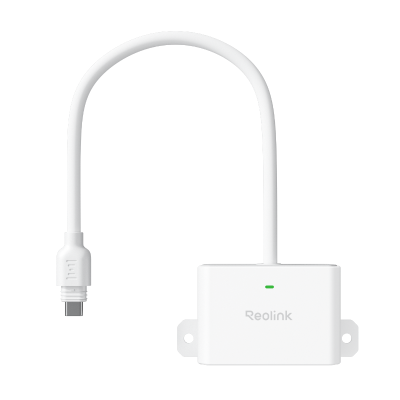
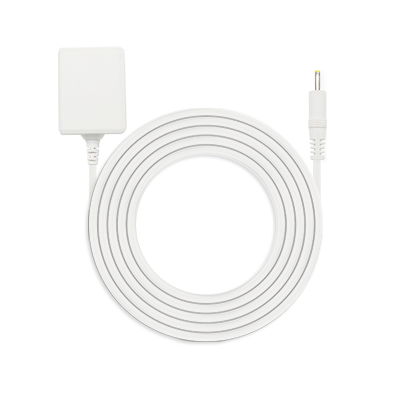
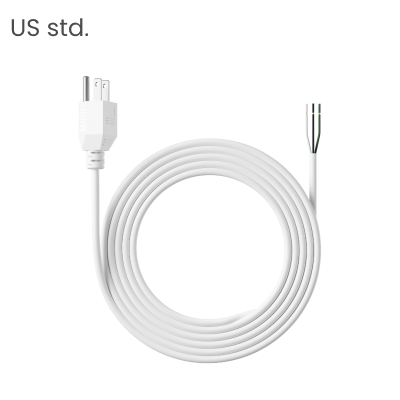
You need to plug the power adapter into the indoor plug, plug the power extension cable into the power adapter, and plug the other end of the power extension cable into the camera power connector (Connect one end of the cables to a power outlet or router and the other end)
For proper data transmission and power supply, you’d have to run the wires as well as protect them from the elements.
Find the shortest cable route and run the cables along that route. Use PVC pipes or cable guards to protect the cables. We recommend using the burial way, using PVC pipe to bury the power cable in the ground.
In short, just plug your power cable into the camera.
Step 3: Set up Cameras for Local Access and Remote Watching
Now that you’re done with the installation, connect the wireless camera to a monitor as local access or simply set the cameras up for remote viewing.
You can use streaming apps to view your birds on TV or use IP-camera-to HDMI converters. You can also set up remote viewing so you can keep tabs through your smartphone or computers even as you’re away from home.
To connect your wireless security camera to a TV.

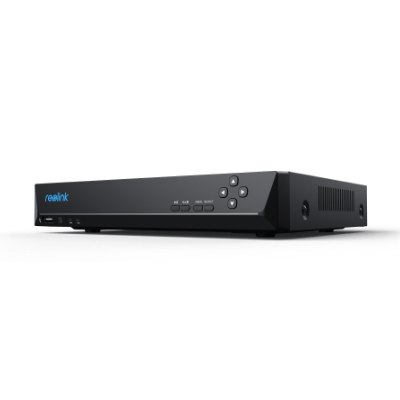
If your camera system involves an NVR, you may hook the NVR to your TV via an HDMI or VGA port. Please kindly follow the below steps to connect cameras to TV:
- Connect your camera to the NVR.
- Connect the NVR to the TV with the HDMI cable.
- Power the NVR with the power adapter.
- Please turn on the TV, and it will show the live view on the screen.
To connect wireless IP camera to Windows PC via router:
- Power your wireless IP camera: plug-in your IP camera to the power adapter
- Use the network cable to connect to the camera and the router: a WiFi camera needs to connect to the router with a network cable for initial set-up because the new camera itself wouldn't recognize and auto-pick up a network that it never uses.
- Watch the IP camera on PC: launch the surveillance software to add the camera and watch live view directly. Click “Start," and you can view the camera on PC. And you can set up the configurations for all the functions you want the camera to have.
- Set up WiFi settings and remove the network cable: on the software, navigate to “Device Settings” and ”Network." Choose the WiFi network and enter the password, and done. Cameras from the different brands would have different WiFi settings. Please refer to the guides you get from your supplier.
Important: If you need to see the IP camera from another computer, not in the same network, you need to input the camera's UID into the software to access the camera remotely.
Why Should I Use a PoE Bird Feeder Cam?
A PoE camera is a camera that makes use of a single cat5 or cat6 cable to provide power and transmit data.
This makes installation very easy, and you don't need an electrician to help fix it.
So, if you have a feeder in your backyard, making use of a Poe camera may be the best for you, especially as it's close to network access from your house.
Using a PoE bird feeder camera tops using a battery-powered camera in many instances as your camera will always remain charged with access to the PoE switch. This eliminates battery shutdown cases, so you can always watch birds at your feeder or birdhouse from the comfort of your home without any worries.
An excellent option is using a PoE camera like the Reolink RLC-410 or Green Backyard IP PoE Birdhouse Camera. It offers a reliable and faster network connection.
What About A True Wire-free Bird Feeder Camera?

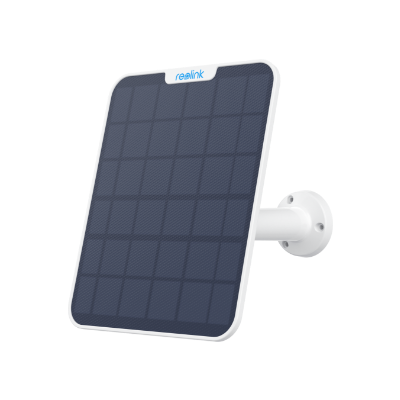
This is a way for you to be truly "wire-free" bird watching. "wire-free" here refers to-no power cord and no network cable. This "wire-free" camera has a built-in battery that can be charged repeatedly. At the same time, your camera can be connected to an external solar panel, so you no longer have to worry about the power supply of the camera.
What's the problem with "wire-free" cameras? The frame rate of the video taken by this camera is not high, that is to say, the FPS is low, considering the need to reduce the power consumption of the battery. This means that the video will not be as smooth as the PoE camera. Once again, due to battery power issues, "True wire-free" cameras cannot achieve 24-hour recording. It can only be effective when you open the client preview.
In general, you need to make a choice between "true wire-free" and its "shortcomings."
How to Live Stream a Bird Feeder Cam, Step by Step Guide
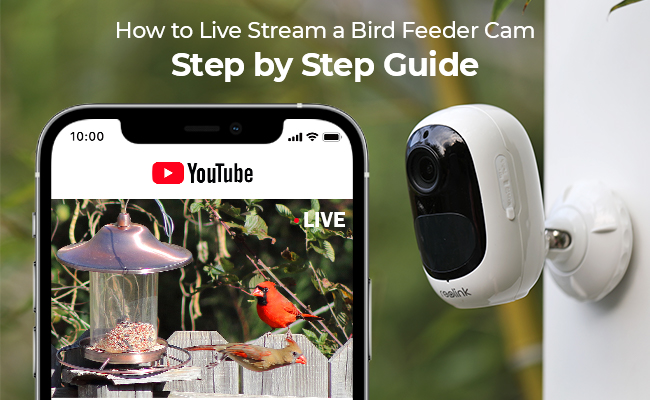
To get started, you’d need
- An IP camera with NVR that supports RTSP stream
- A verified YouTube account
- Broadband Internet with fast upload speed
- A PC (Windows, Mac, or Linux)
- An encoder, preferably OBS
Follow this guide to get started:
Step 1. Ensure your IP security camera is connected to the stable network:
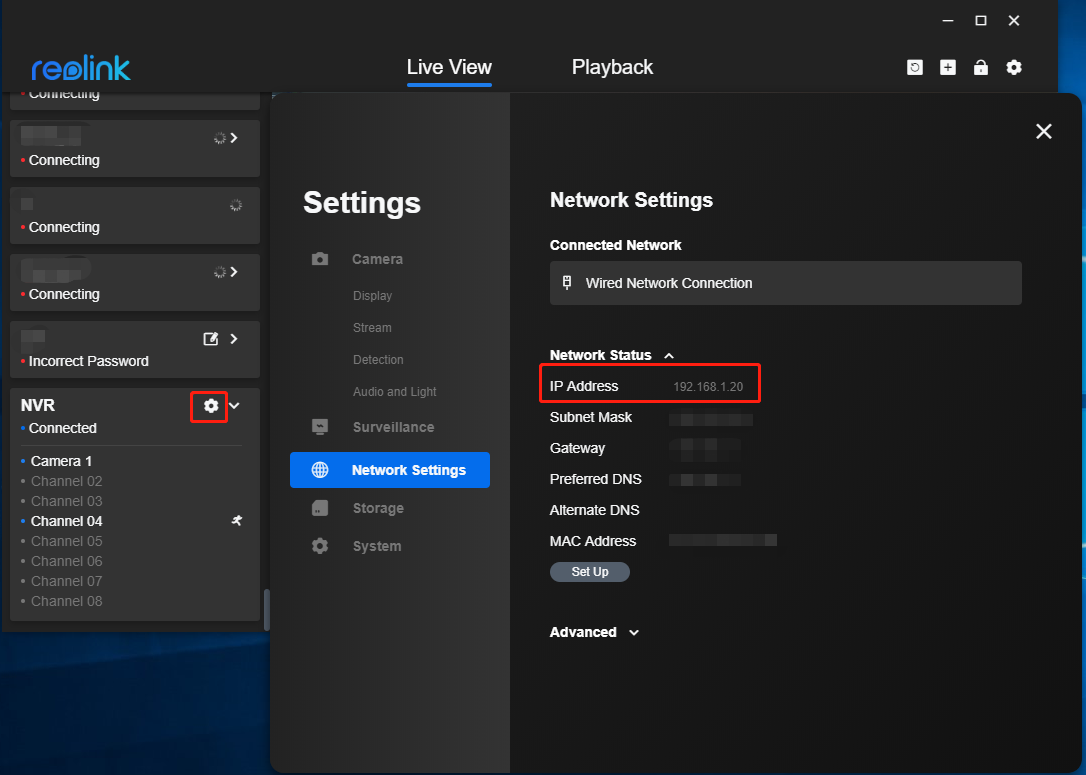
a stable network connection allows you to access your CCTV cameras via smartphones or PCs and watch video live feed smoothly. If you have encountered network failures, check out this post to locate and solve the network issues.
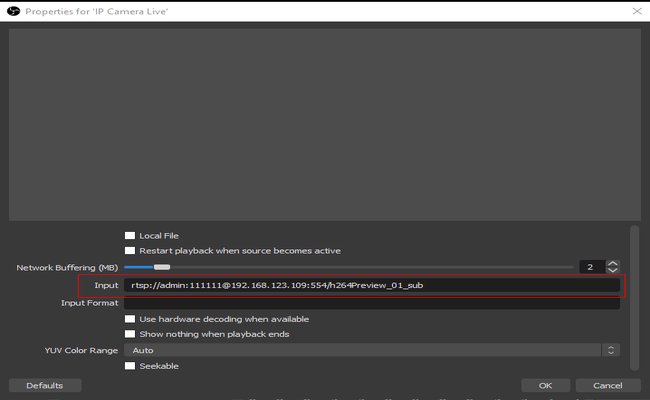
Step 2. Get the RTSP URL of your IP camera:
it is best to consult the staff of your security camera brands about which mode your surveillance equipment supports and the detailed URL as well. For Reolink IP cameras, check out this post.
Step 3. Verify your YouTube account & obtain stream key:
navigate to YouTube verify screen and get your account verified. Then;
-
Click Create button on the top-right menu –> Go Live. Choose to start streaming right now or later date with a built-in webcam or streaming software. For Reolink cameras, you need to choose streaming software.
-
Click EDIT to enter the title and description and change Privacy settings (private, unlisted, or public).
-
Scroll down and find the Stream Key in the Encoder Setup section. And the stream key is hidden in most cases. Click the eye button to see the key.
-
Copy and paste the key to a notepad or any other safe location.
Step 4. Install & set up encoders to stream IP camera to YouTube:
-
Download OBS to your PCs or laptops.
-
Open the program and click + –> Media Source in the Source section to add a video source.
-
Create a new source and type in a name like "IP Camera Live Stream." Make sure that you check the Make source visible at the bottom.
-
Uncheck all the choices and enter the RTSP URL in the input field.
-
Then your IP camera live feed will show on the OBS screen. Right-click the live feed and click Transform –> Stretch to screen to adjust the video size.
Step 5. Configure live streaming settings in the encoders:
-
Hit Stream in the Settings section (on the right-hand sidebar) and choose YouTube/YouTube Gaming under the Service section.
-
Type in the stream key that you obtain from YouTube in the field and click OK.
-
Click Starting Streaming in OBS and navigate to your YouTube account to check if you are live now.
-
If you want to stop IP camera live streaming on YouTube or when the event terminates, stop streaming in OBS.
How to Make Use of a GoPro Camera to Record your Bird Feeder
If you own a GoPro and enjoy feeding birds in your backyard, you can also enjoy the joys of bird viewing.
To start with, it’s very important to place your camera close to a feeding area. You could make use of a magic arm mount which allows you to clamp the arm to any object that fits inside the jaws of the clamp. This can either be a small post, tree branch, or the feeder itself. A tripod mount also comes in handy so you can cover birds feeding on the ground.
In mounting the camera, it's best to set your camera when the weather's going to be fairly clear and sunny as GoPro cameras perform better in better lighting conditions. For best results when it comes to distance, it’s best to place the cameras about 12 to 18 inches from where the birds are feeding. For best results, use Protune flat for best color capture as well.
However, you need to be aware that GoPro is a camera specifically made for sports, and when you use it for 24*7 long hours of bird watching, its work stability will be compromised. And security cameras are born to serve such long periods of surveillance work. Then we talk about the battery life, the Gopro camera battery capacity is limited, which means that every few hours, you need to change the battery of the Gopro, which is destined to make your bird watching experience much less.
Lastly, the Gopro may not be too friendly to your wallet, as the price of the latest version of the Gopro goes up to $399.98. This is obviously not an economical option.
10 Best Live Bird Feeder Cam Around the World (Editor’s Choice)
If you love watching birds, then you’d love these live bird cams from around the world. Not only will you see species of birds you won’t see at home, but you’ll also get to watch birds as they’re feeding any time of the day.
1. USA Hummingbirds- California
This feeder cam is from Carole who has been feeding hummingbirds for the past 9years in California. You’d love this live bird feeder cam due to the large number of hummers that visit this set-up.
2. USA Alabama
This feeding station was set up by Ken in Alabama. More than 50 species of birds and mammals have been identified at this location. They include hawks, cedar waxwings, bluebirds, and several more.
3. USA Florida
The feeders are busy here both in the morning and in the late afternoons. Stationed in Orlando, Florida, woodpeckers, grackles, cardinals, wrens, titmice and songbirds are regular visitors to this setup.
4. Panama – El Valle de Anton
The Panama Fruit Feeder Cam is located on the grounds of the Canopy Lodge in El Valle de Anton, Panama. Situated just 2000ft above sea level in the mountains of Cerra Gaital, the feeders are filled every two hours between 7 AM and 5 PM local time.
5. Europe – Czech Republic
Streaming live from the Makov animal rescue center in a village by Makov Lake in the Czech Republic, you can even see some stork and deer wandering past in the background.
6. Scotland, UK
This live bird feeder cam is situated in a wildlife garden in Scotland. The bird species you may see include; Blackbird, Pheasant, Great Tit, Blue Tit, Siskin, Greenfinch, Woodpecker, Wood pigeon, Brambling, and a couple of small animals like mice, hedgehogs, and weasels.
7. South Africa
If you're looking for a webcam where you will be privileged to see over 50 different bird species, this bird feeder cam in Pretoria, South Africa is a good place to get started.
Suspended 20 feet from the ground, this feeder receives several bird species and animal species like Wood Hoppoes, Hornbill, Bushbaby, and Fruit Bat.
8. Recke, Germany
Located in North Rhine-Westphalia in Recke, Germany, this live feeder cam is a host to several common bird species. Here, you get to view birds like the Long-tailed Tit, Blue Tit, Great Tit, Pheasant, Tree sparrows, Greenfinch, and Robin.
The host of this bird feeder cam also has a ground feeder cam that sometimes captures small animals like hedgehogs as they feed.
9. Decorah, Iowa
If you like watching eagles, then this is another live cam worth watching.
This is an eagle's nest live cam that is located in a secluded valley in Decorah, Iowa. The nest is about seven feet wide and nine feet across.
10. Ohio
This live feeder cam is located in Northwest Ohio, near the Cuyahoga Valley National Park. Through this cam, you'll get to learn more about most Eastern United States birds.
Some of the common birds observed here are Northern Cardinal, Tufted Titmouse, Red-bellied Woodpecker, House Sparrow, Blue Jay, American Goldfinch, European Starling, and Black-capped Chickadee.
Special Recommendation
Here are two video clips of bird feeders captured by reolink users, they're really too cute!!! Although they are not live online, I still think they are worth recommending. They are all published on the #ReolinkCaptures page, where all the interesting pages contributed by Reolink users are displayed.
1. Backyard Feeder
This bird feeder cam shows some common birds at the feeder. The birds were captured by the Reolink 1080p battery security camera Argus 2E.
2. Garden Bird Feeder
This bird feeder cam is a set up by Michuu using the Reolink RLC- 511W camera. This shows birds eating in his garden.
Conclusion
If you want to set up your bird feeder cam, I’m sure you’re pleased to find out that it’s easy and fun to start. If you’re thinking of the perfect bird feeder camera to get for your new project, then you should go for a wireless IP camera like the ones from Reolink as they’ve been proven to be the best among several others. They are affordable and also serve as surveillance cameras.
If you have a friend who may be having a bit of trouble with setting up a bird feeder cam, you can share this with them.
Have you ever tried setting up a bird feeder cam before? If you have, what problems did you face and I hope this article answers all your questions.
Search
Subscribe for the Latest Updates
Security insights & offers right into your inbox

