Reolink Floodlight Camera Not Working? Here’s How to Fix It
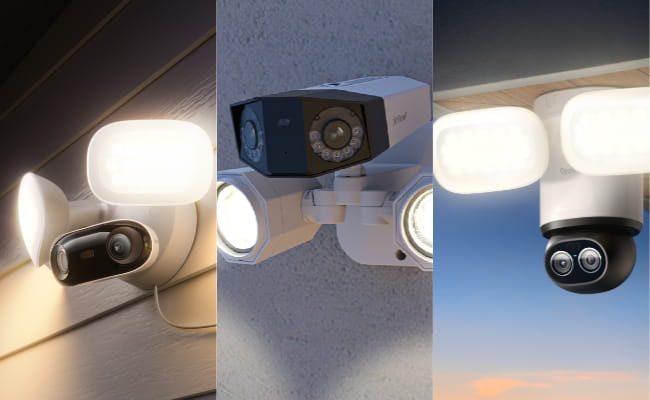
The Reolink floodlight camera keeps a home safe at night. It records video and turns on bright lights when it detects movement. Sometimes the camera stops these functions. This article covers Reolink floodlight camera issues and shows exact ways to fix them. Users can follow the steps in order to restore full operation.
- Why Is Reolink Floodlight Camera Not Working?
- Check Power Supply
- Network Connectivity Troubleshooting
- Check Floodlight and Motion Detection Settings
- Software or Firmware Update
- Reset to Factory Defaults
- Check for Physical Damage or Weather Issues
- How to Prevent Reolink Floodlight Camera Problems?
- FAQs
- Conclusion
Why Is Reolink Floodlight Camera Not Working?
Problems with the camera happen more often than expected. The floodlight may not turn on, or the video feed may disappear from the app. People want to know the cause right away so they can fix the issue without delay.
Power supply problems
Power flows to the camera through an adapter or cable. If the supply breaks, the entire device shuts down. The status light stays dark, and no sounds come from the camera.
Weak or unstable WiFi connection
The camera depends on a stable WiFi link to send data. Low signal strength causes frequent drops. The live view disappears, and notifications stop arriving on the phone.
Incorrect motion or light settings
Settings in the app control detection and lights. The wrong sensitivity level or detection area gets chosen. The floodlight stays off during movement, or the schedule blocks it at night.
Firmware or software issues
Firmware is the program that runs the camera. Older versions lead to errors. The camera may fail to connect or ignore motion completely.
Hardware malfunction
Physical damage affects the internal parts. Water, cold weather, or wear over time break connections inside the camera.

🎉 Exclusive Limited-Time Security Deals
- Save Up to $300 on Bundles & Multi-Packs
- Upgrade your home protection with our daily offers!
Check Power Supply
-
Start troubleshooting with the power supply. This step solves many cases since the camera needs steady electricity to run.
-
Look at the status light on the camera body. The light should glow blue when everything works.
-
Unplug the adapter from the wall. Wait for ten seconds.
-
Plug it back into the same outlet. Test a different outlet next.
-
Inspect the power cable for any cuts or loose ends. Replace the cable if damage shows.
-
For cameras that use Power over Ethernet, check the Ethernet cable length and the injector device. Confirm they meet the camera requirements from the manual.
-
Try a different compatible power source. Repeat the test after each change made. Many owners get their camera working again at this stage alone.
Network Connectivity Troubleshooting
-
Move to network issues next if power checks pass. The camera needs a strong connection to the router.
-
Restart the router first. Unplug it for thirty seconds and plug it back in.
-
Restart the camera by unplugging its power for the same time.
-
Open the Reolink app and check the signal strength. Move the camera closer to the router temporarily to test.
-
Confirm that the WiFi uses the 2.4 GHz band because the camera does not support 5 GHz. Separate the band names in the router settings if they share one name.
-
Check for interference from other devices or thick walls. Use a WiFi analyzer tool on the phone to find a clear channel. Tighten the antennas on the camera if they come loose. Update the router firmware, too, if available.
-
Test the connection after each adjustment. The status light turns solid blue or stops flashing red. This shows the network link holds steady.
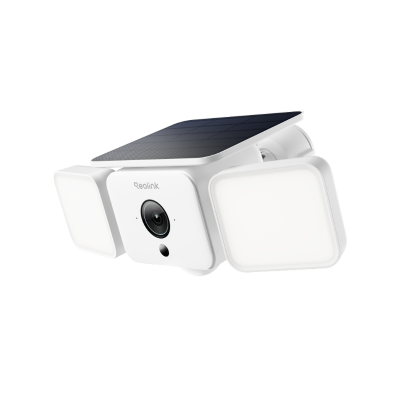
Smart 2K Solar Floodlight Security Camera
150° Ultra-Wide View, 2K 4MP HD Resolution, AI-Based Adaptive Floodlight, Endless Power with Reolink SolarEase™.
Check Floodlight and Motion Detection Settings
-
Adjust settings in the app if the camera connects, but the lights or detection fail. Open the Reolink app on the phone.
-
Select the camera from the list. Tap the settings gear icon.
-
Go to the detection alarm section. Draw the motion detection zone to cover the area to watch.
-
Raise the sensitivity slider to a higher number. Set the schedule to include night hours.
-
Check the light activation options. Lower the threshold for switching to night mode so lights turn on sooner.
-
Save the changes. Walk in front of the camera at night to test.
-
Watch the floodlight turn on, and the app sends a notification. Adjust the values again if the light stays off or triggers too often. Confirm the detection type includes people or vehicles. These changes fix most setting-related problems.
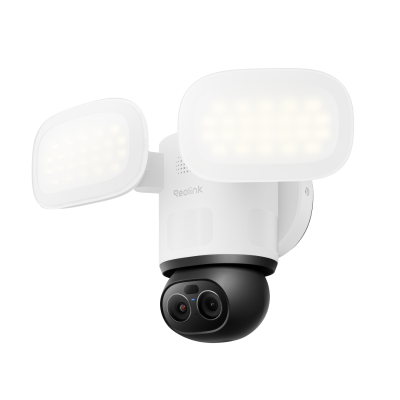
🎉 2026 Prime Day Sales Highlight: 4K 360° Wi-Fi Floodlight Security Camera
- 360° full coverage view & 4K 8MP resolution
- Dual-color floodlight & 6X hybrid zoom
Software or Firmware Update
-
Update the firmware to fix software bugs. Open the Reolink app.
-
Go to the device information page for the camera. Tap the update option.
-
The app checks for new versions. Download and install if one appears.
-
Keep the camera plugged in during the process. The update takes several minutes. Do not turn off the device.
-
Check the current version number before and after.
-
Use the computer client for manual update if the app fails. Download the file from the Reolink website after matching the model and hardware version.
-
Follow the on-screen steps to load the file. Restart the camera after the update finishes. New firmware often solves connection drops and motion errors.
Reset to Factory Defaults
-
Reset the camera when other steps fail. Power on the floodlight first.
-
Find the reset hole on the device. Use a paper clip or reset the needle.
-
Press and hold the button inside the hole. Keep pressure for five seconds or more.
-
Listen for a ringtone from the camera. Watch the status LED flash blue and red.
-
Release the button when this appears.
-
The camera returns to factory settings. Set it up again in the app like when it's new.
-
Enter the WiFi details fresh. This step clears bad configurations, but old settings get lost.
Check for Physical Damage or Weather Issues
-
Inspect the camera body for damage. Look for cracks in the housing or water marks.
-
Clean the lens with a soft cloth.
-
Check the mounting screws for tightness.
-
Move the camera if it faces direct rain or extreme cold.
-
Add a protective cover if needed.
-
Test in milder conditions.
-
Hardware damage requires replacement if broken parts appear.
How to Prevent Reolink Floodlight Camera Problems?
Now that the current issue with the camera is solved, take steps to avoid future Reolink floodlight camera issues. Simple habits extend the life of the device and keep it reliable. The tips below give details for each one.
-
Update firmware regularly. Check the app every month for new versions. Fresh firmware fixes bugs and improves stability against network changes.
-
Choose a good installation spot. Mount the camera under the eaves to block rain. Avoid areas with extreme temperatures or direct sun all day.
-
Maintain a strong network signal. Place the router closer or add an extender. Reduce devices on the network to prevent overload.
-
Clean the camera often. Wipe the lens and body monthly. Dirt blocks motion detection and light sensors.
-
Test the system monthly. Walk in front to check the lights and alerts. Early tests catch small problems.
-
Use proper power equipment. Confirm original adapters and cables stay in place. Avoid extensions that weaken supply.
FAQs
How to reset the Reolink floodlight camera?
Power on the device. Insert a paper clip into the reset hole. Hold for five seconds until the ringtone sounds and the LED flashes blue and red. Release the button and set up again in the app.
Why has my Reolink camera stopped working?
Power loss, weak WiFi, wrong settings, old firmware, or physical damage cause the stop. Check these areas one by one as shown in the guide.
Do Reolink cameras go bad?
Yes. They last several years with care. Water damage, extreme weather, or normal wear lead to failure over time. Replace parts or the whole unit when needed.
Conclusion
The reasons behind reolink floodlight camera not working are now clear, along with the detailed fixes. Check power first, then network, settings, updates, reset, and hardware. Prevent problems with regular updates and good care. Share your opinions on this article below.
Search
Subscribe for the Latest Updates
Security insights & offers right into your inbox