
The following steps describe how to set the motion detection recording for cameras connected to Reolink PoE NVR via Reolink PoE NVR.
Applies to: RLN4-410 (hardware version H3MB17), RLN8-410 (hardware version H3MB02), RLN8-410-E, RLN16-410 (hardware version H3MB02/H3MB06)
Here is a video for your reference.
Step 1. Log in to your Reolink PoE NVR on a monitor. Go to Menu > Recording > Schedule page, then select the channel (camera) and check the Enable box. Select Motion and tap on the grids to choose the time that you want to enable motion detection recording for, and then click Apply to save the settings.
Step 2. Enter the Alarm > Motion page, then refer to Set up Motion Detection Area via Reolink PoE NVR to configure the motion detection area for the camera.
Step 3. After you finish Step 2, right-click the interface and select Sensitivity, then follow the steps in Set up Motion Detection Sensitivity via Reolink PoE NVR to set the motion detection sensitivity.
Note: You may set the sensitivity higher for night and lower during daytime to reduce false alarms.
Step 4. Go back to the Motion page and click Schedule Set to enter the alarm schedule page. Select Alarm and tap on the grids to choose the periods during which you want to enable Alarm for the camera.
Note: The alarm schedule has to cover the motion recording schedule you have set in Step 1.
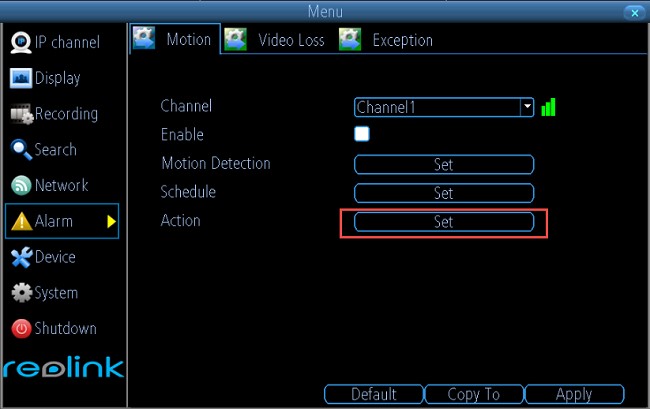
Step 5. Go back to Motion interface and click on Set button next to Action.
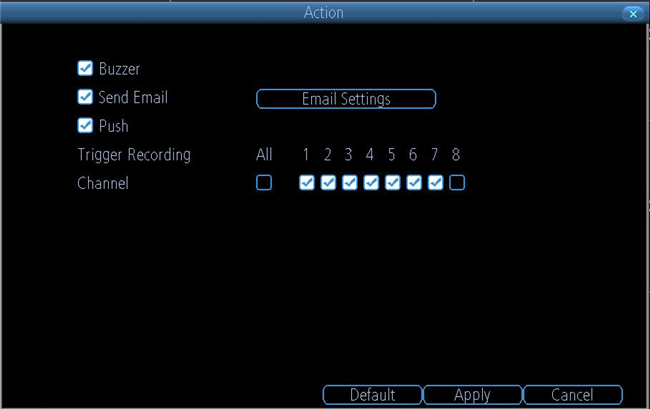
Check the channel which you would like to enable to trigger recording (at least include the channel you set in Step 1), then click Apply to save the settings.
Step 6. After completing all the settings above, click the Apply button in the Motion page to finish setting motion detection recording.
Done! Now the channel you have selected in Step 1 will start to record when there are motions detected.